Docs
Update a JASMIN account
Updating your JASMIN account profile
Update info
Step 1 : Navigate to your profile page and click on “Update info”.
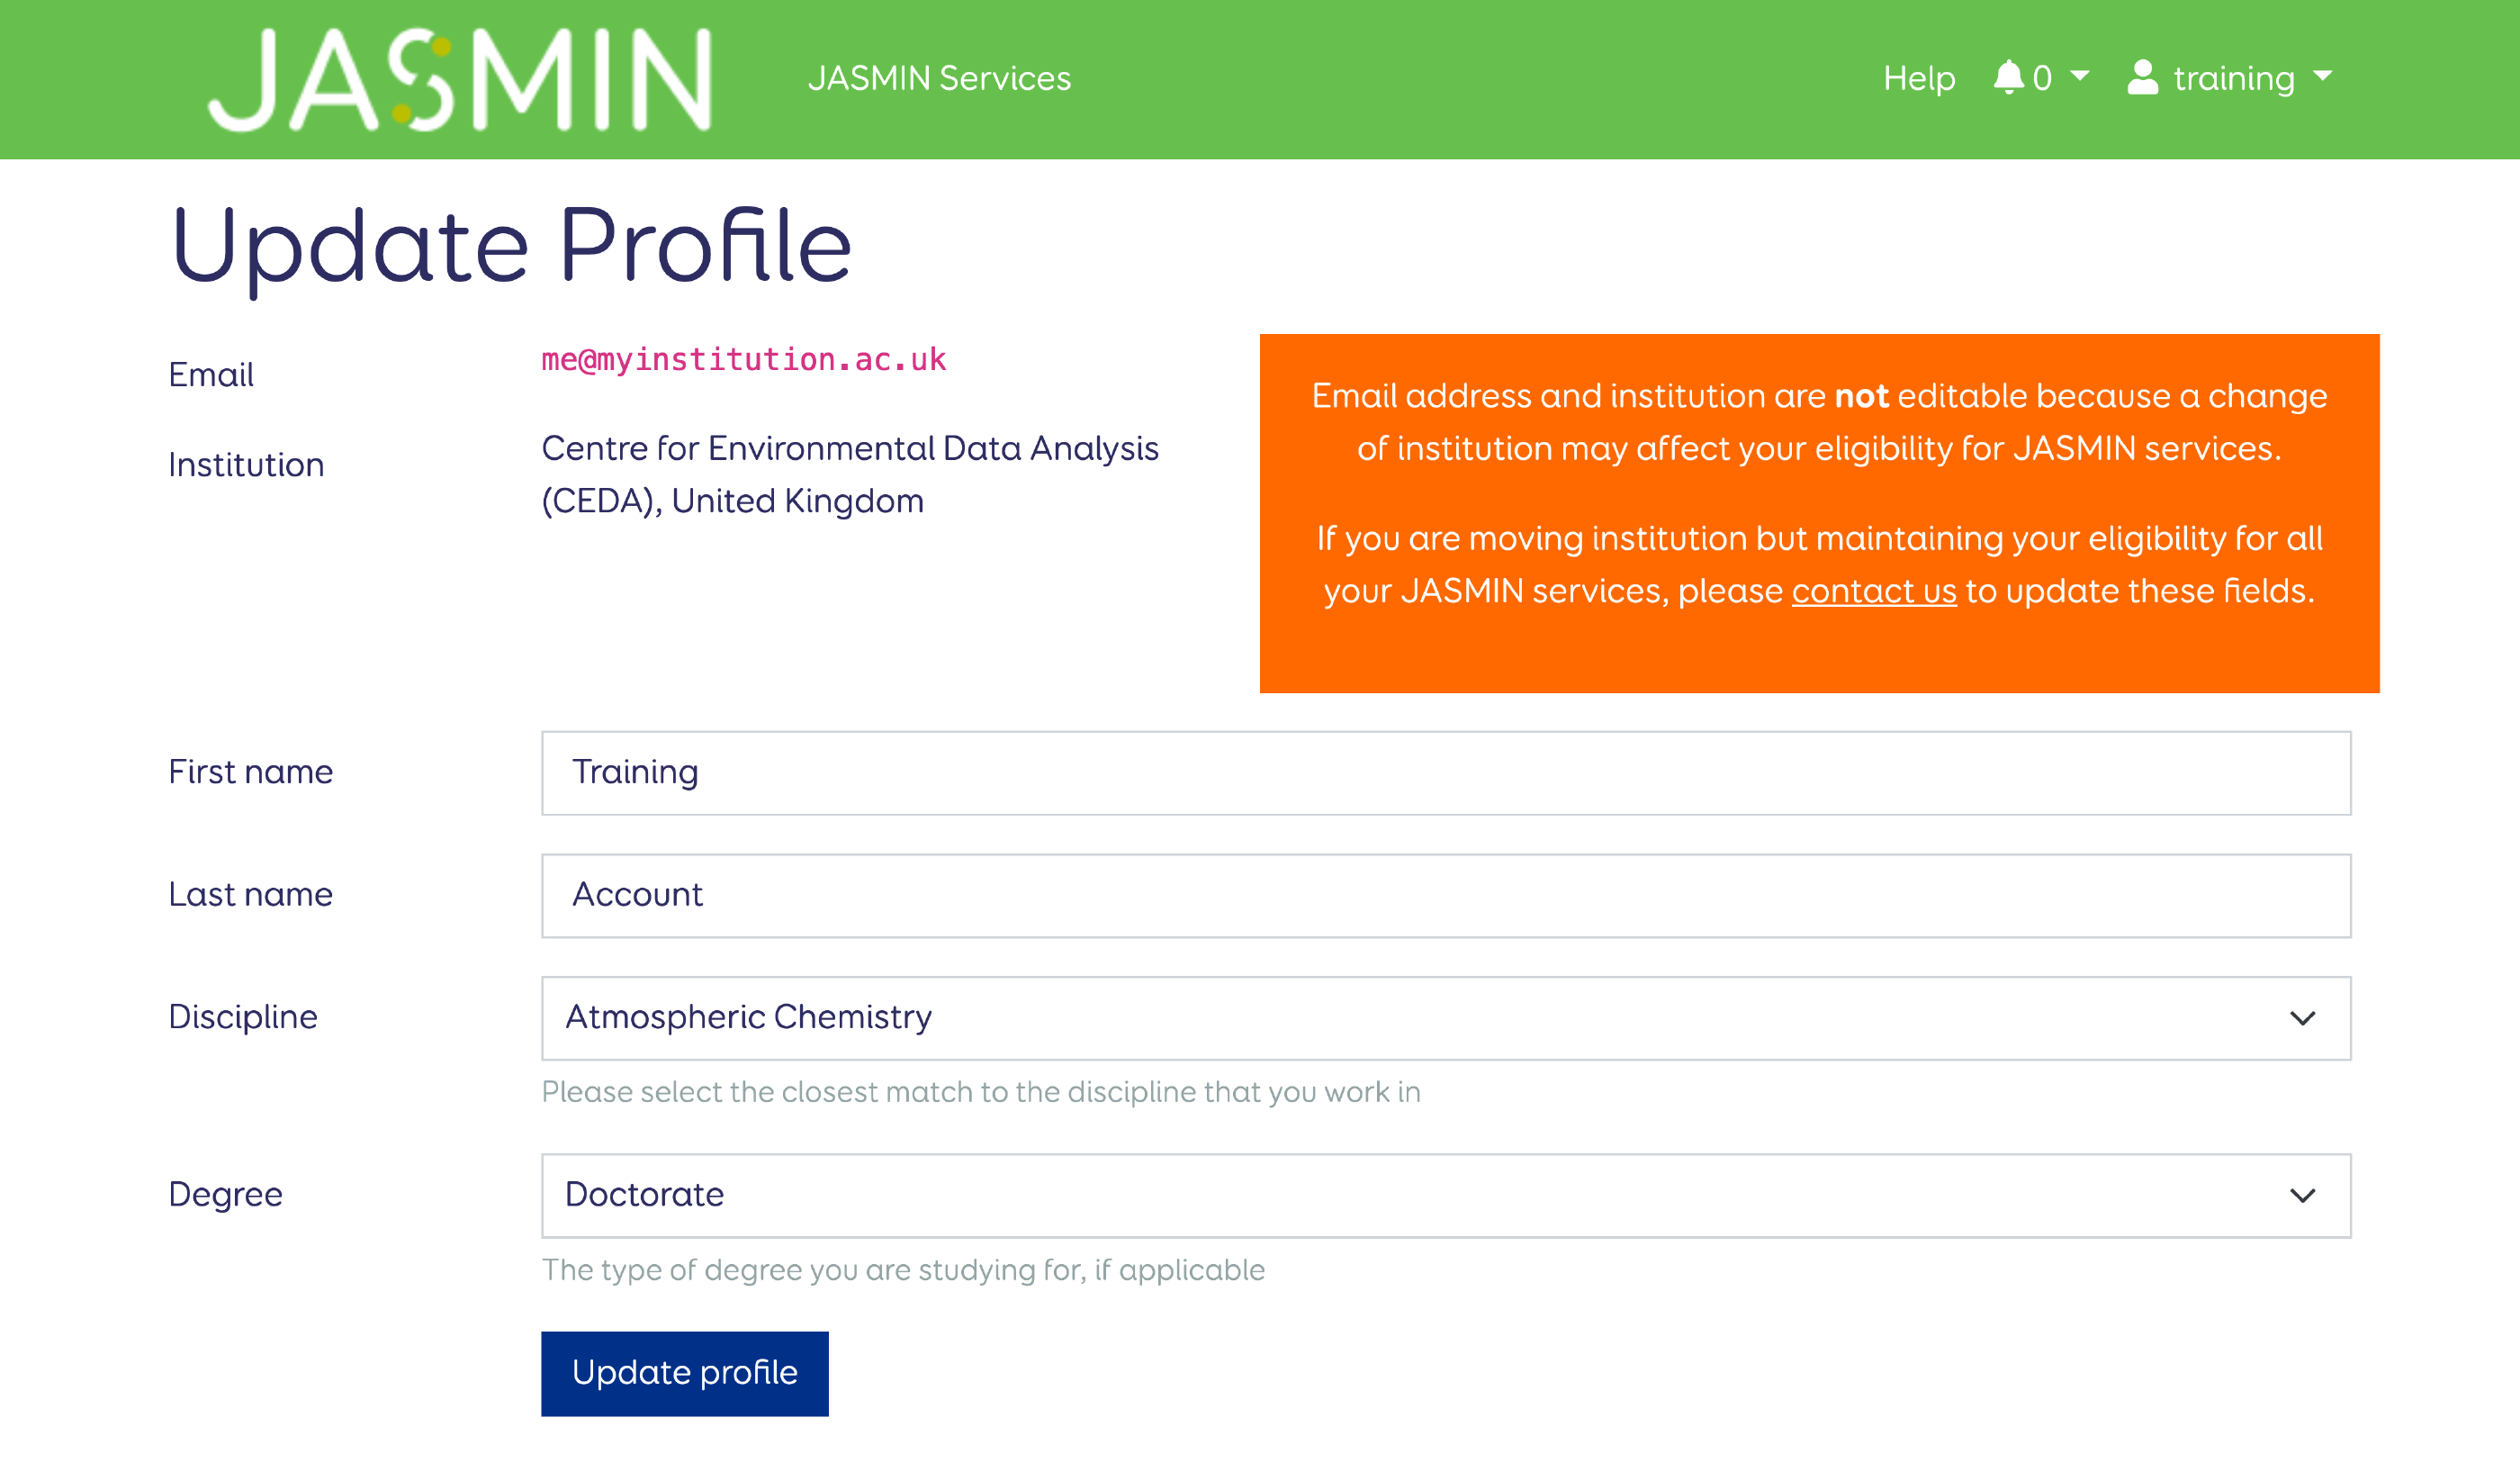
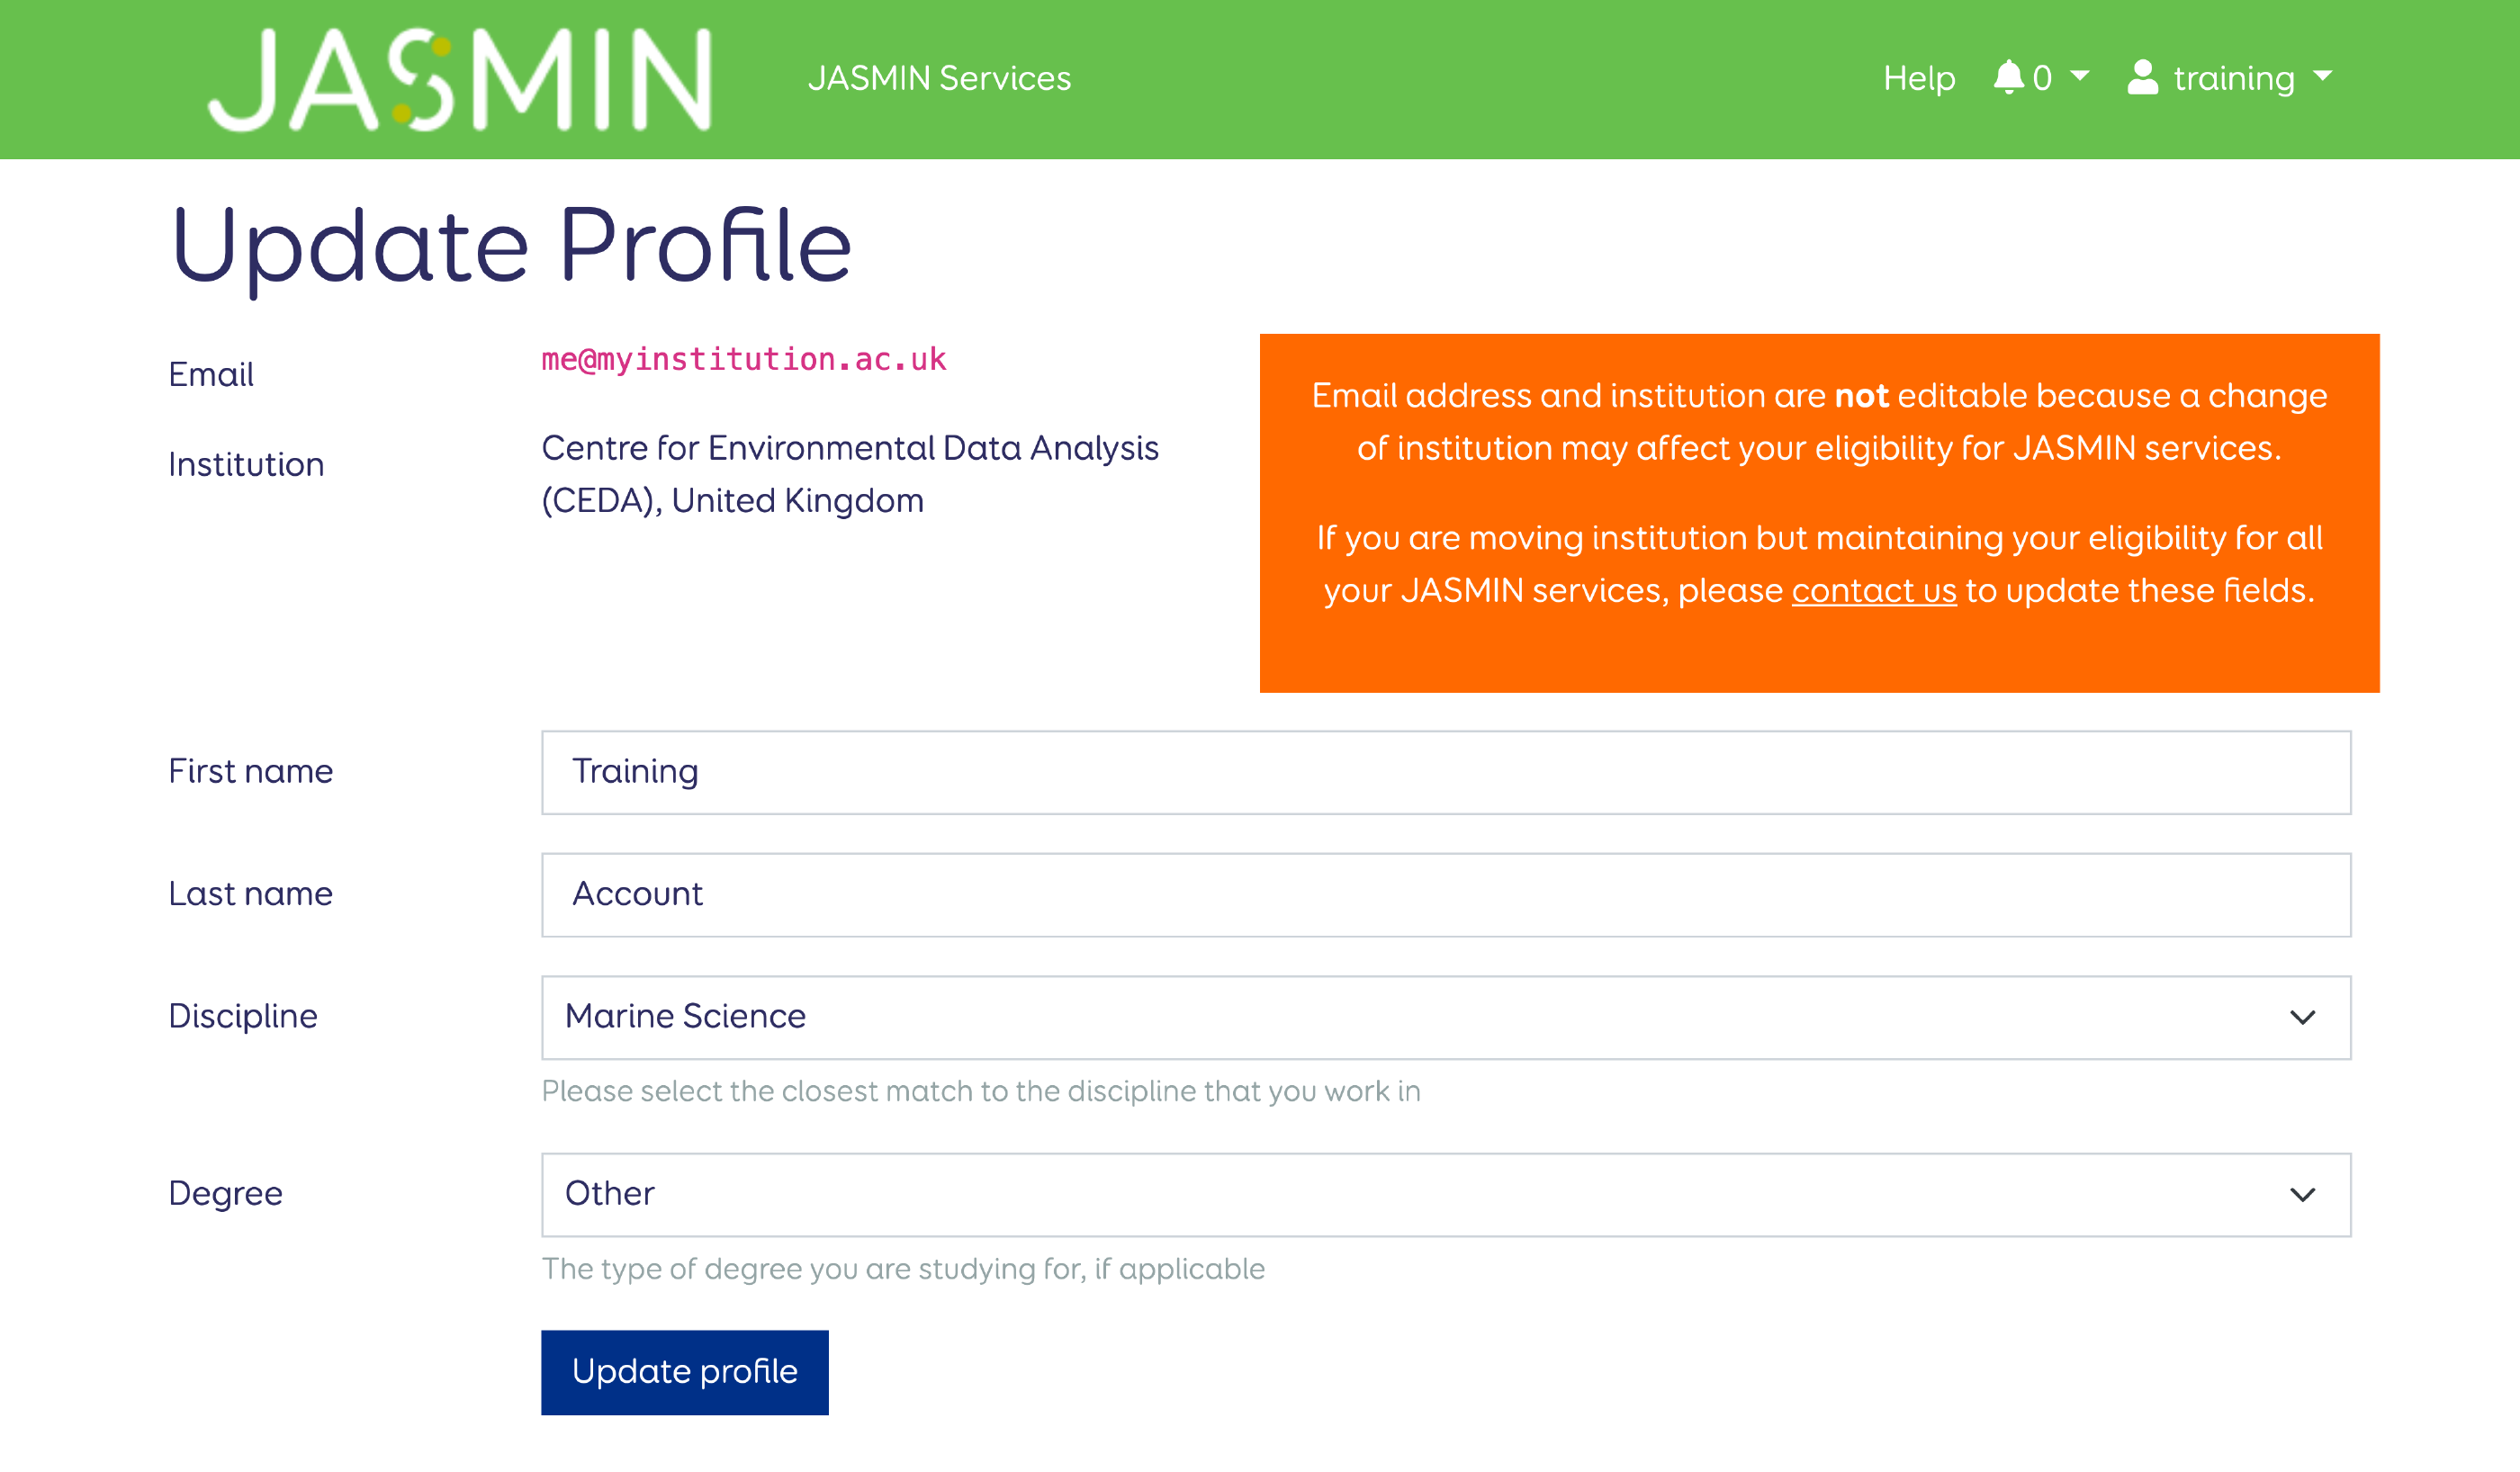
Step 2 : Once the discipline and degree are updated, click “Update profile”.
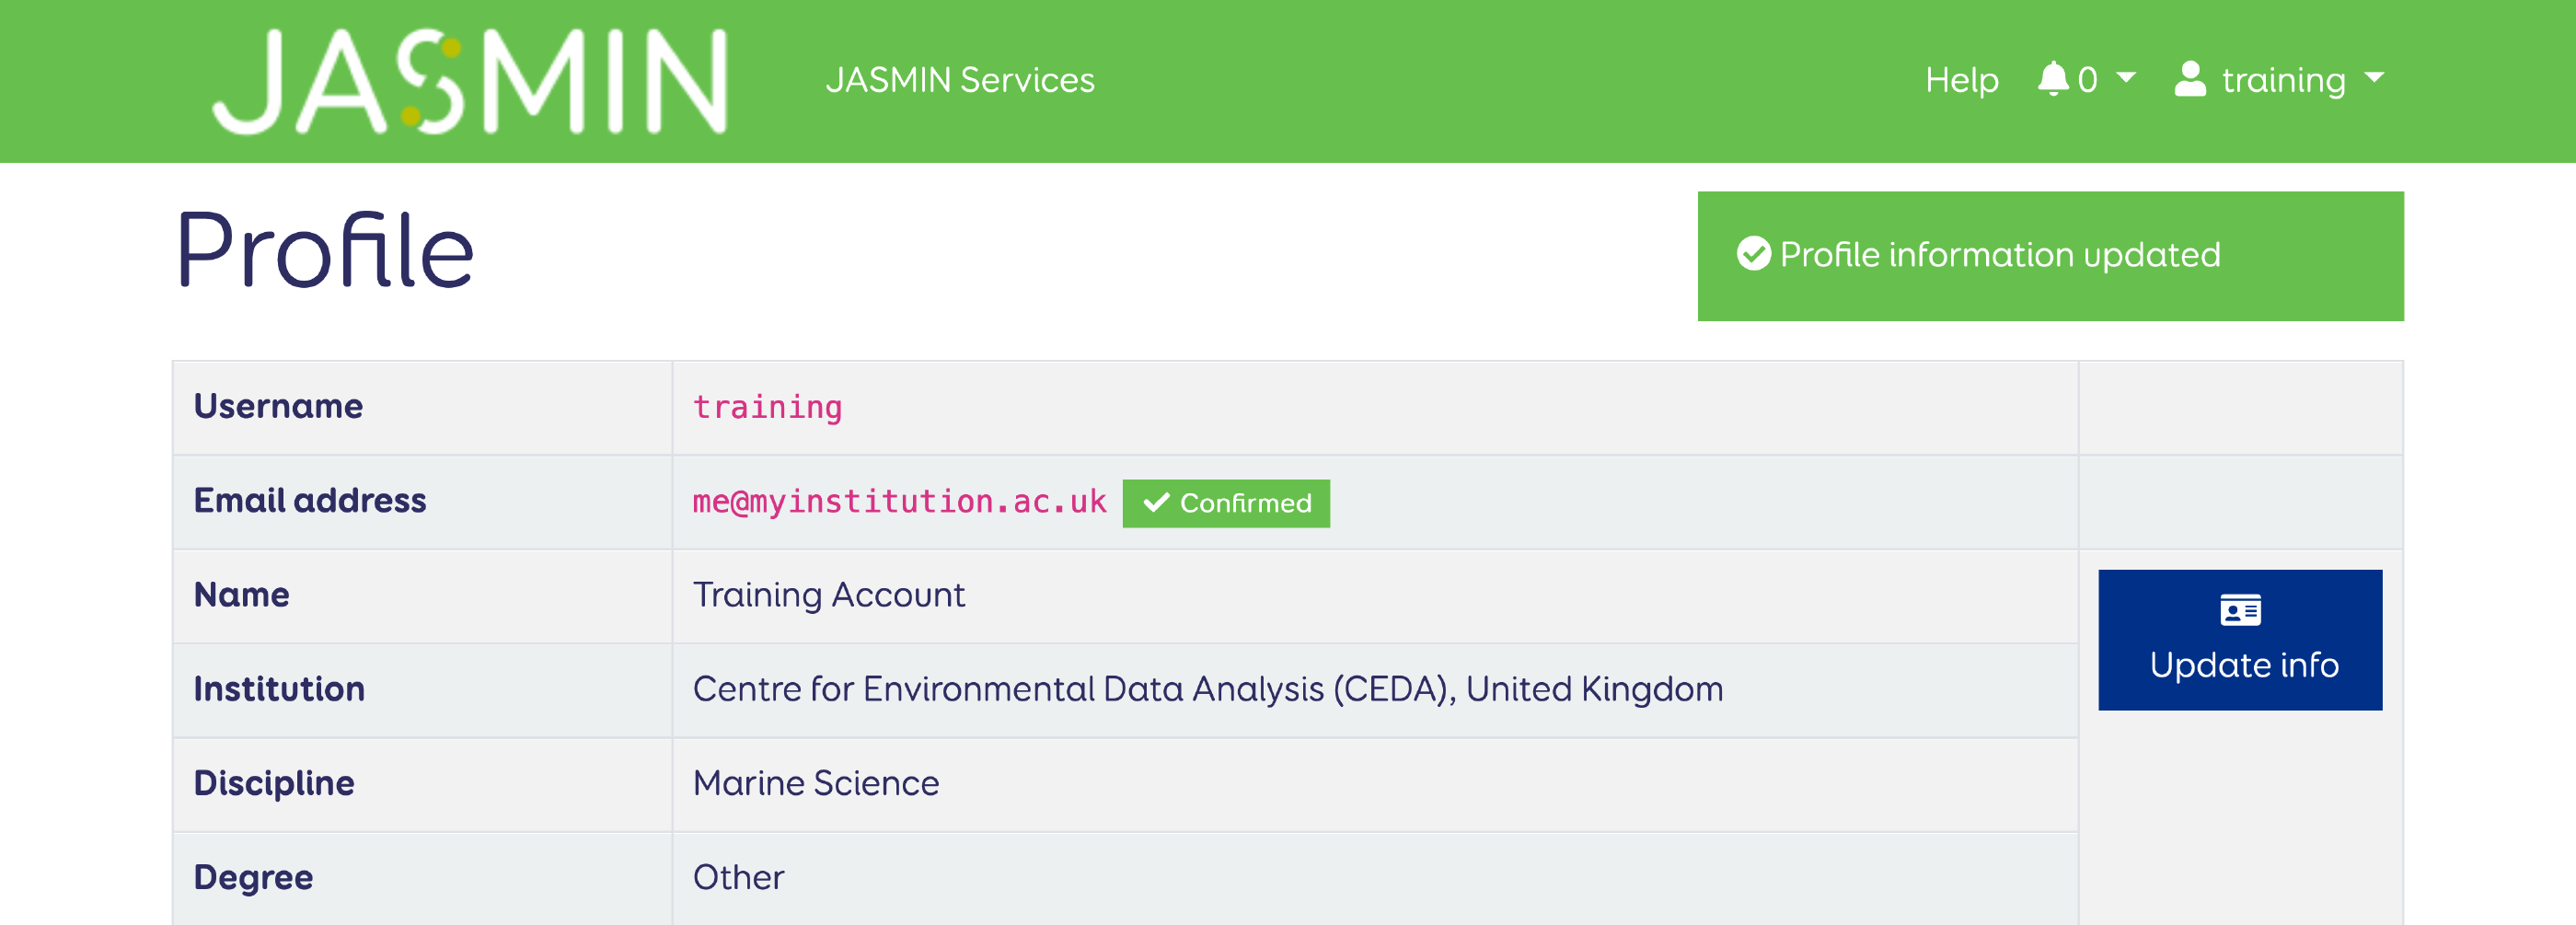
Step 3 : The updated details are displayed.
Update SSH public key
To update your SSH public key, first you need to generate a new SSH key pair as described here: Generate an SSH key pair. This should be done on your local machine (e.g. Windows / Linux / Mac). You MUST protect your key with a strong passphrase. Then follow these steps to update your SSH public key. The system will reject any key that it recognises has been used before (across all users) so you must generate a fresh key each time: you cannot recycle an old key.
Step 1 : Navigate to your profile page , and click on “Update key”.
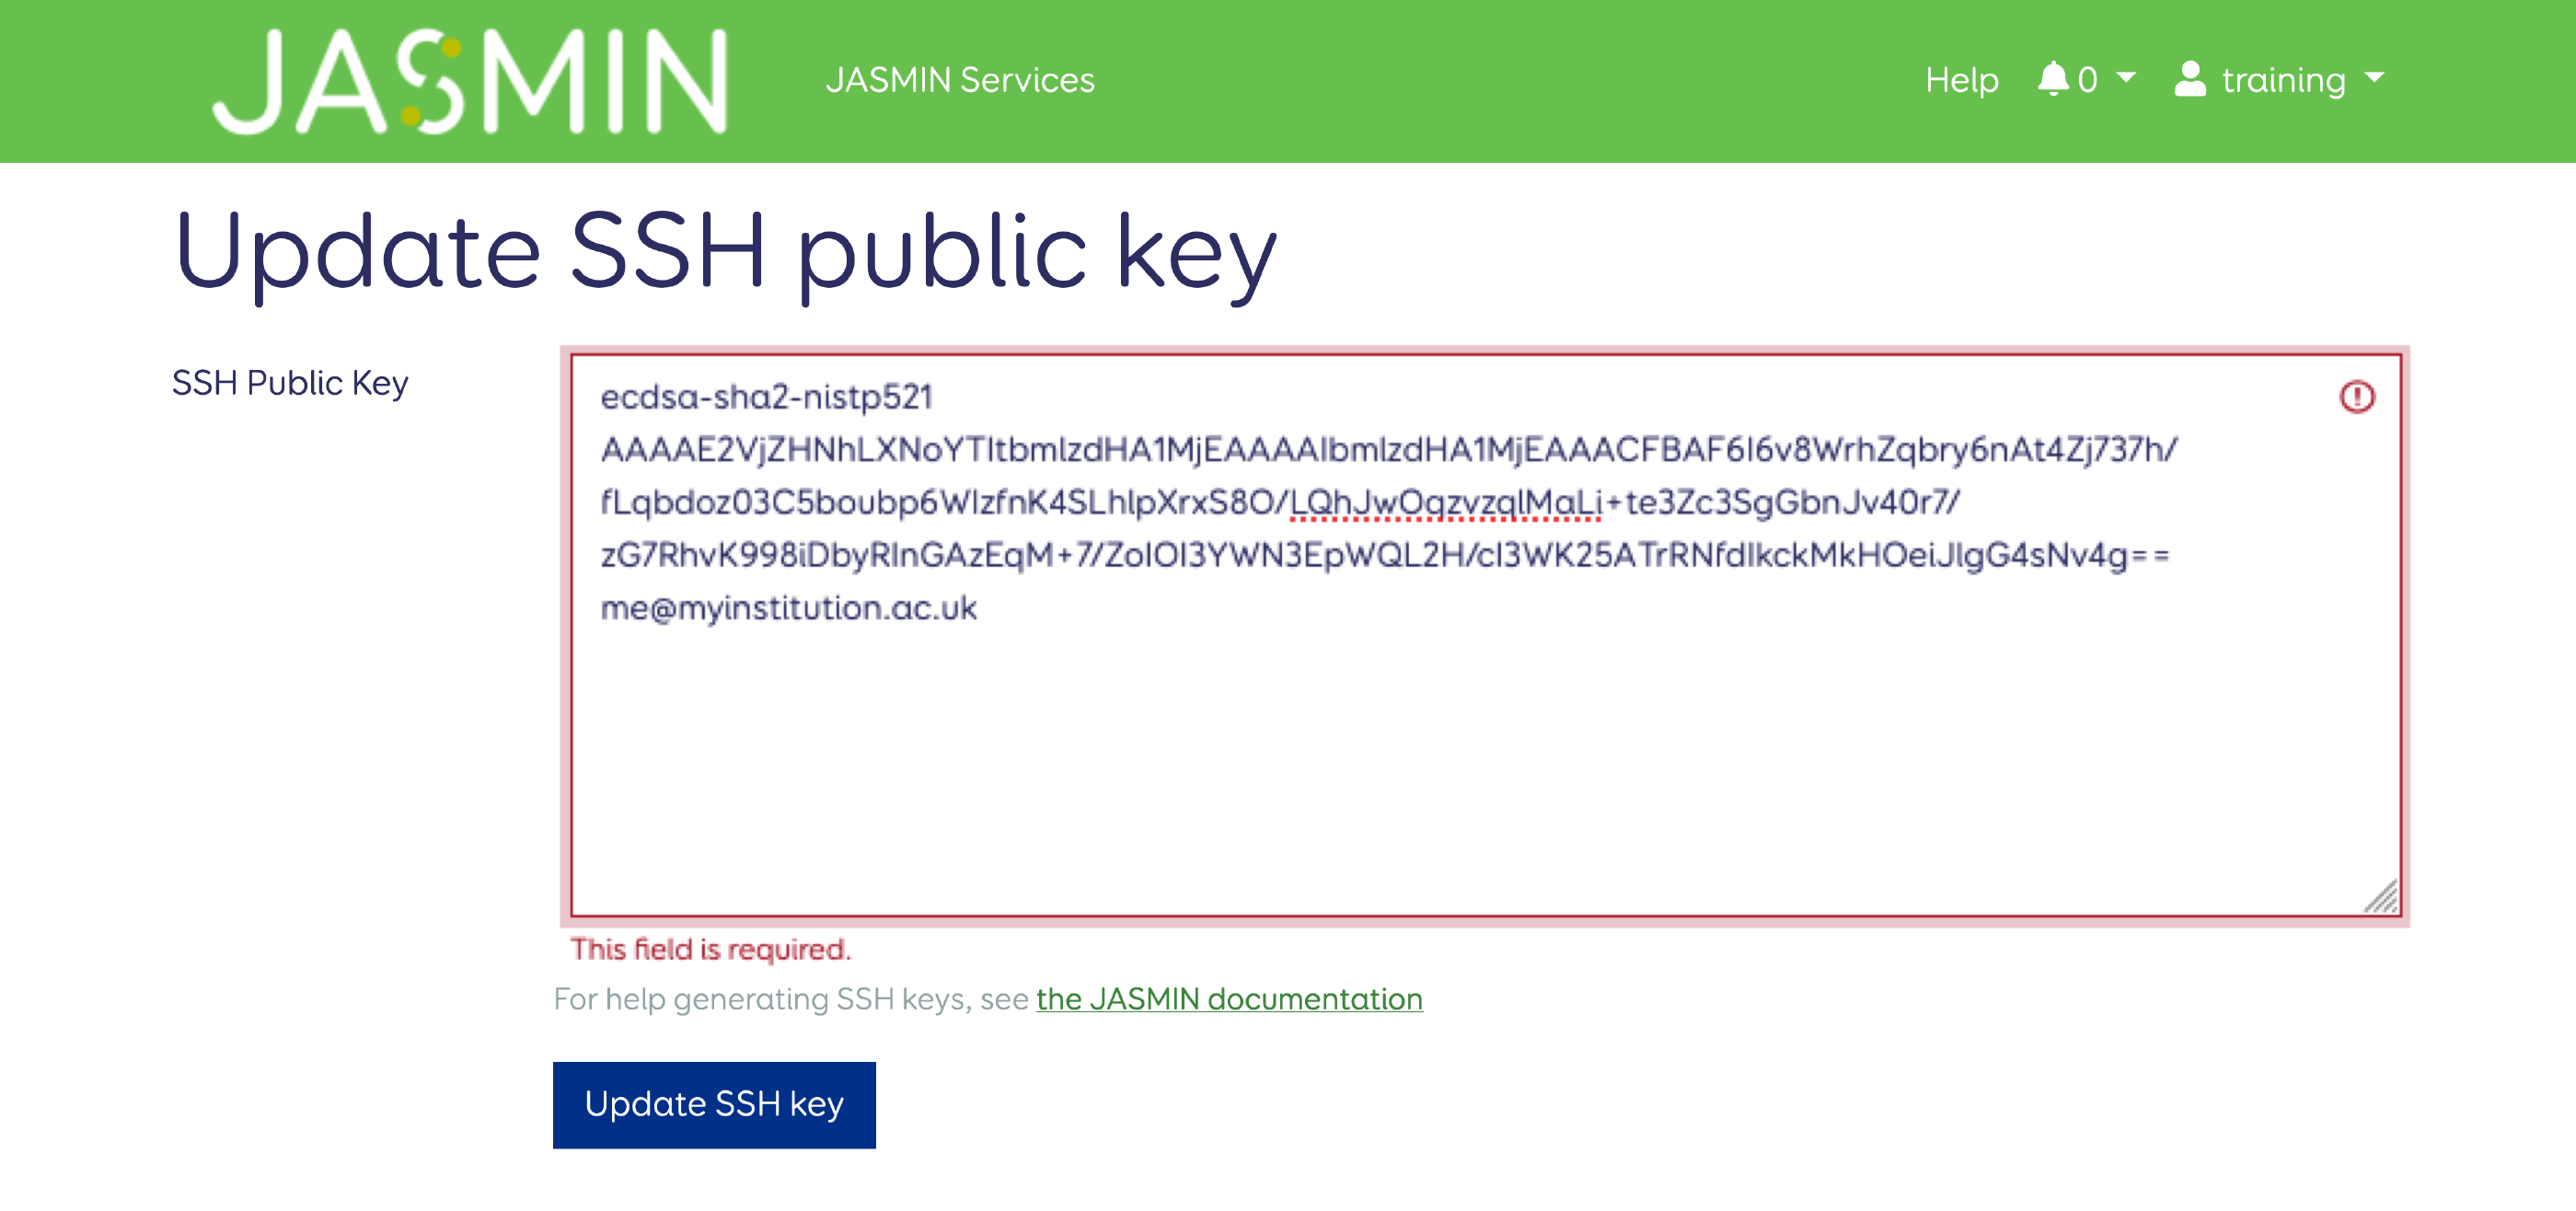
Step 2 : Paste in the new SSH public key, and click “Update SSH key”.
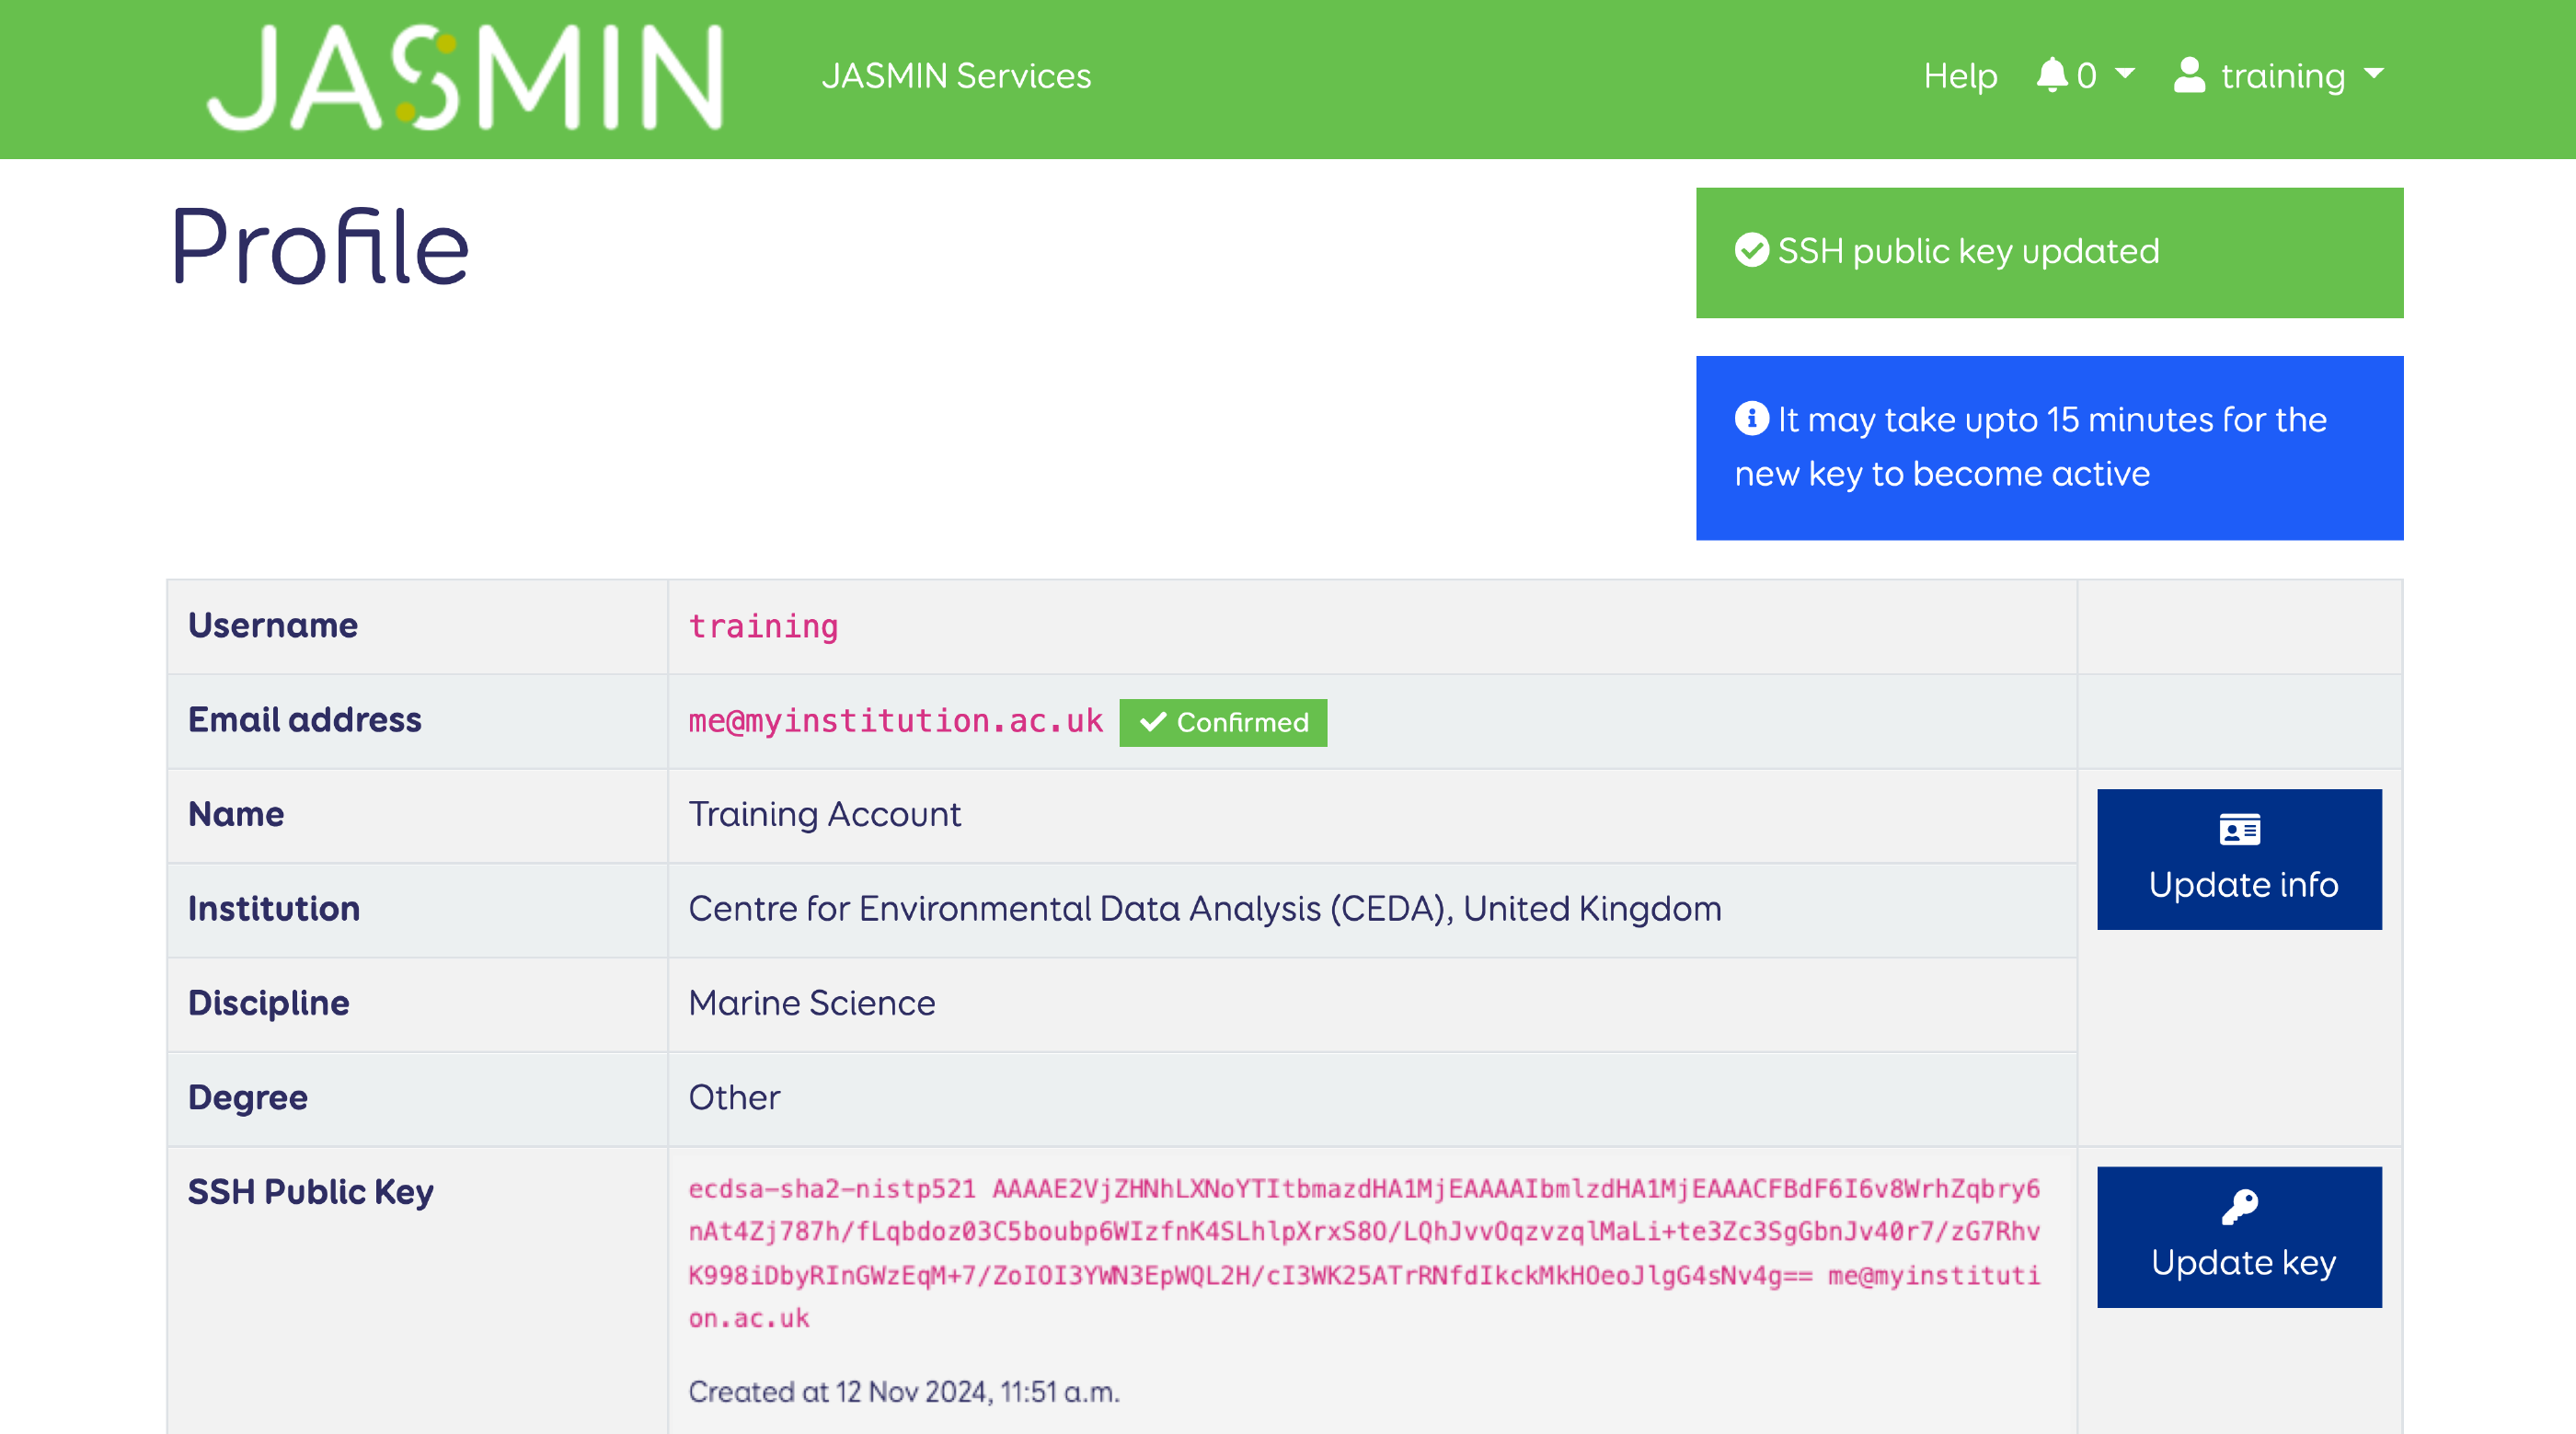
Step 3 : A box confirming you’ve updated your key is displayed.
Note: Please allow 15 minutes before attempting to log in again, while the new key becomes active on the JASMIN system.
If you get the message “not a valid SSH public key” please check that you have
copied the text from the .pub file and that no newline characters are
included: the public key should be a single line of text.
It can be difficult to see this as the text automatically wraps
itself to fit in the text box.
Change password
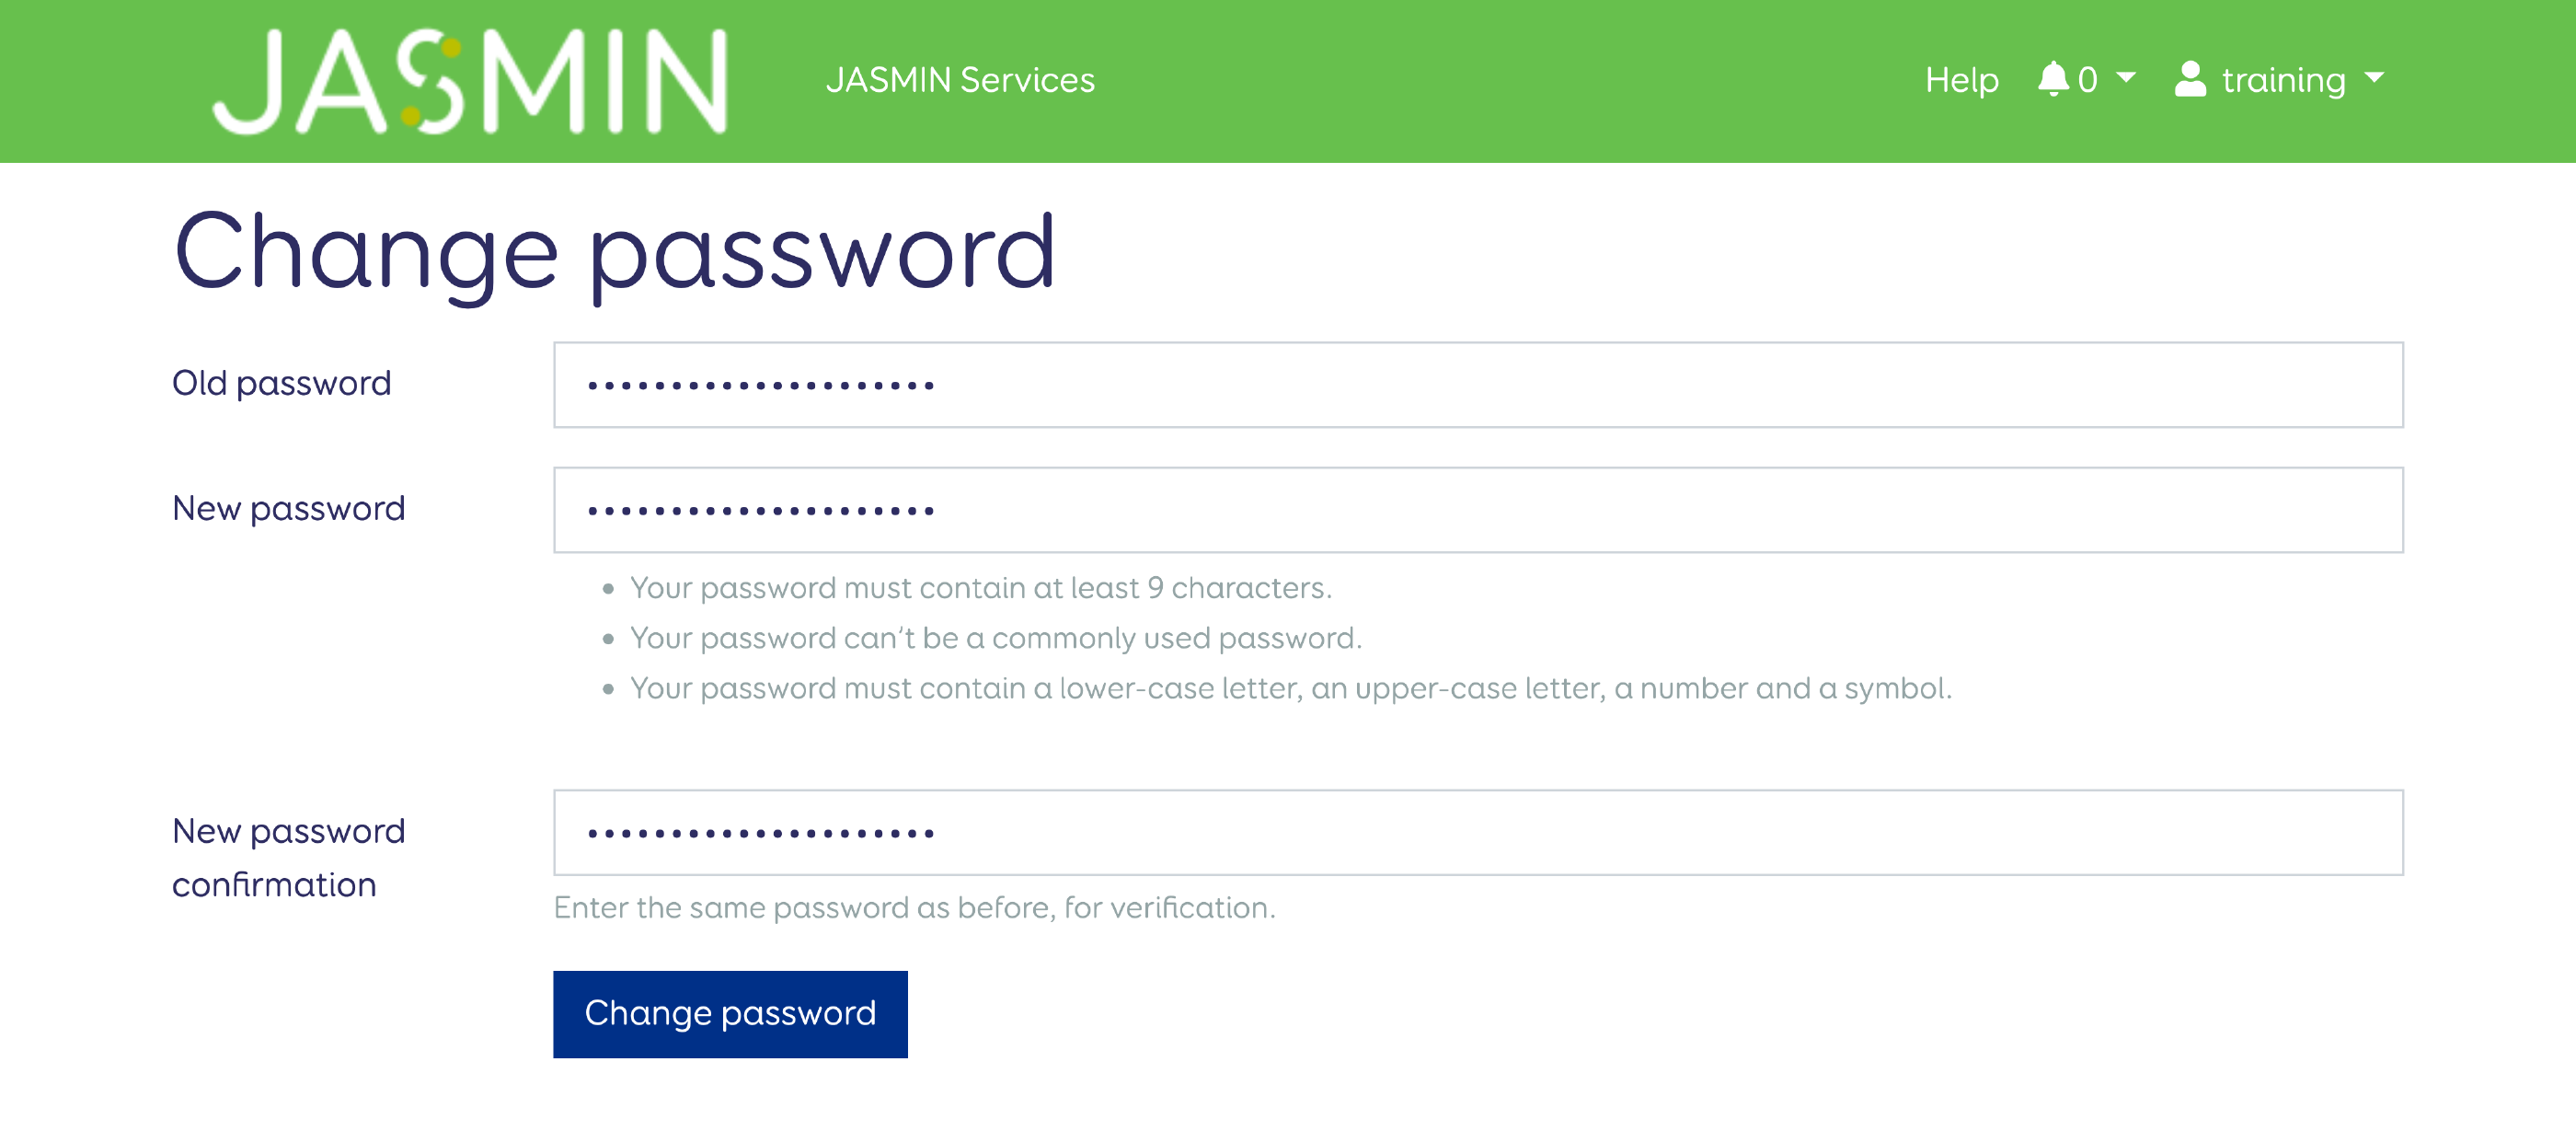
Step 1 : Go to your username in the top-right corner of the navigation bar. Select “Change password” from the drop-down menu.

Step 2 : Enter the new password which must conform to the rules stated. You should ideally generate a strongly random string in an encrypted password manager and store it securely. Make sure it is NOT the same as your SSH key passphrase. Re-enter the new password to confirm, then click “Change password”
Link CEDA account
Linking your CEDA account to your JASMIN account allows you filesystem access to data on CEDA Archive. If you need to access data on the CEDA Archive and you do not have an account, you will need to apply for a CEDA account.
Step 1 : On the profile page, select “Link now” which is next to the field “Linked CEDA Account”. This will take you to the CEDA accounts portal page where you need to login.
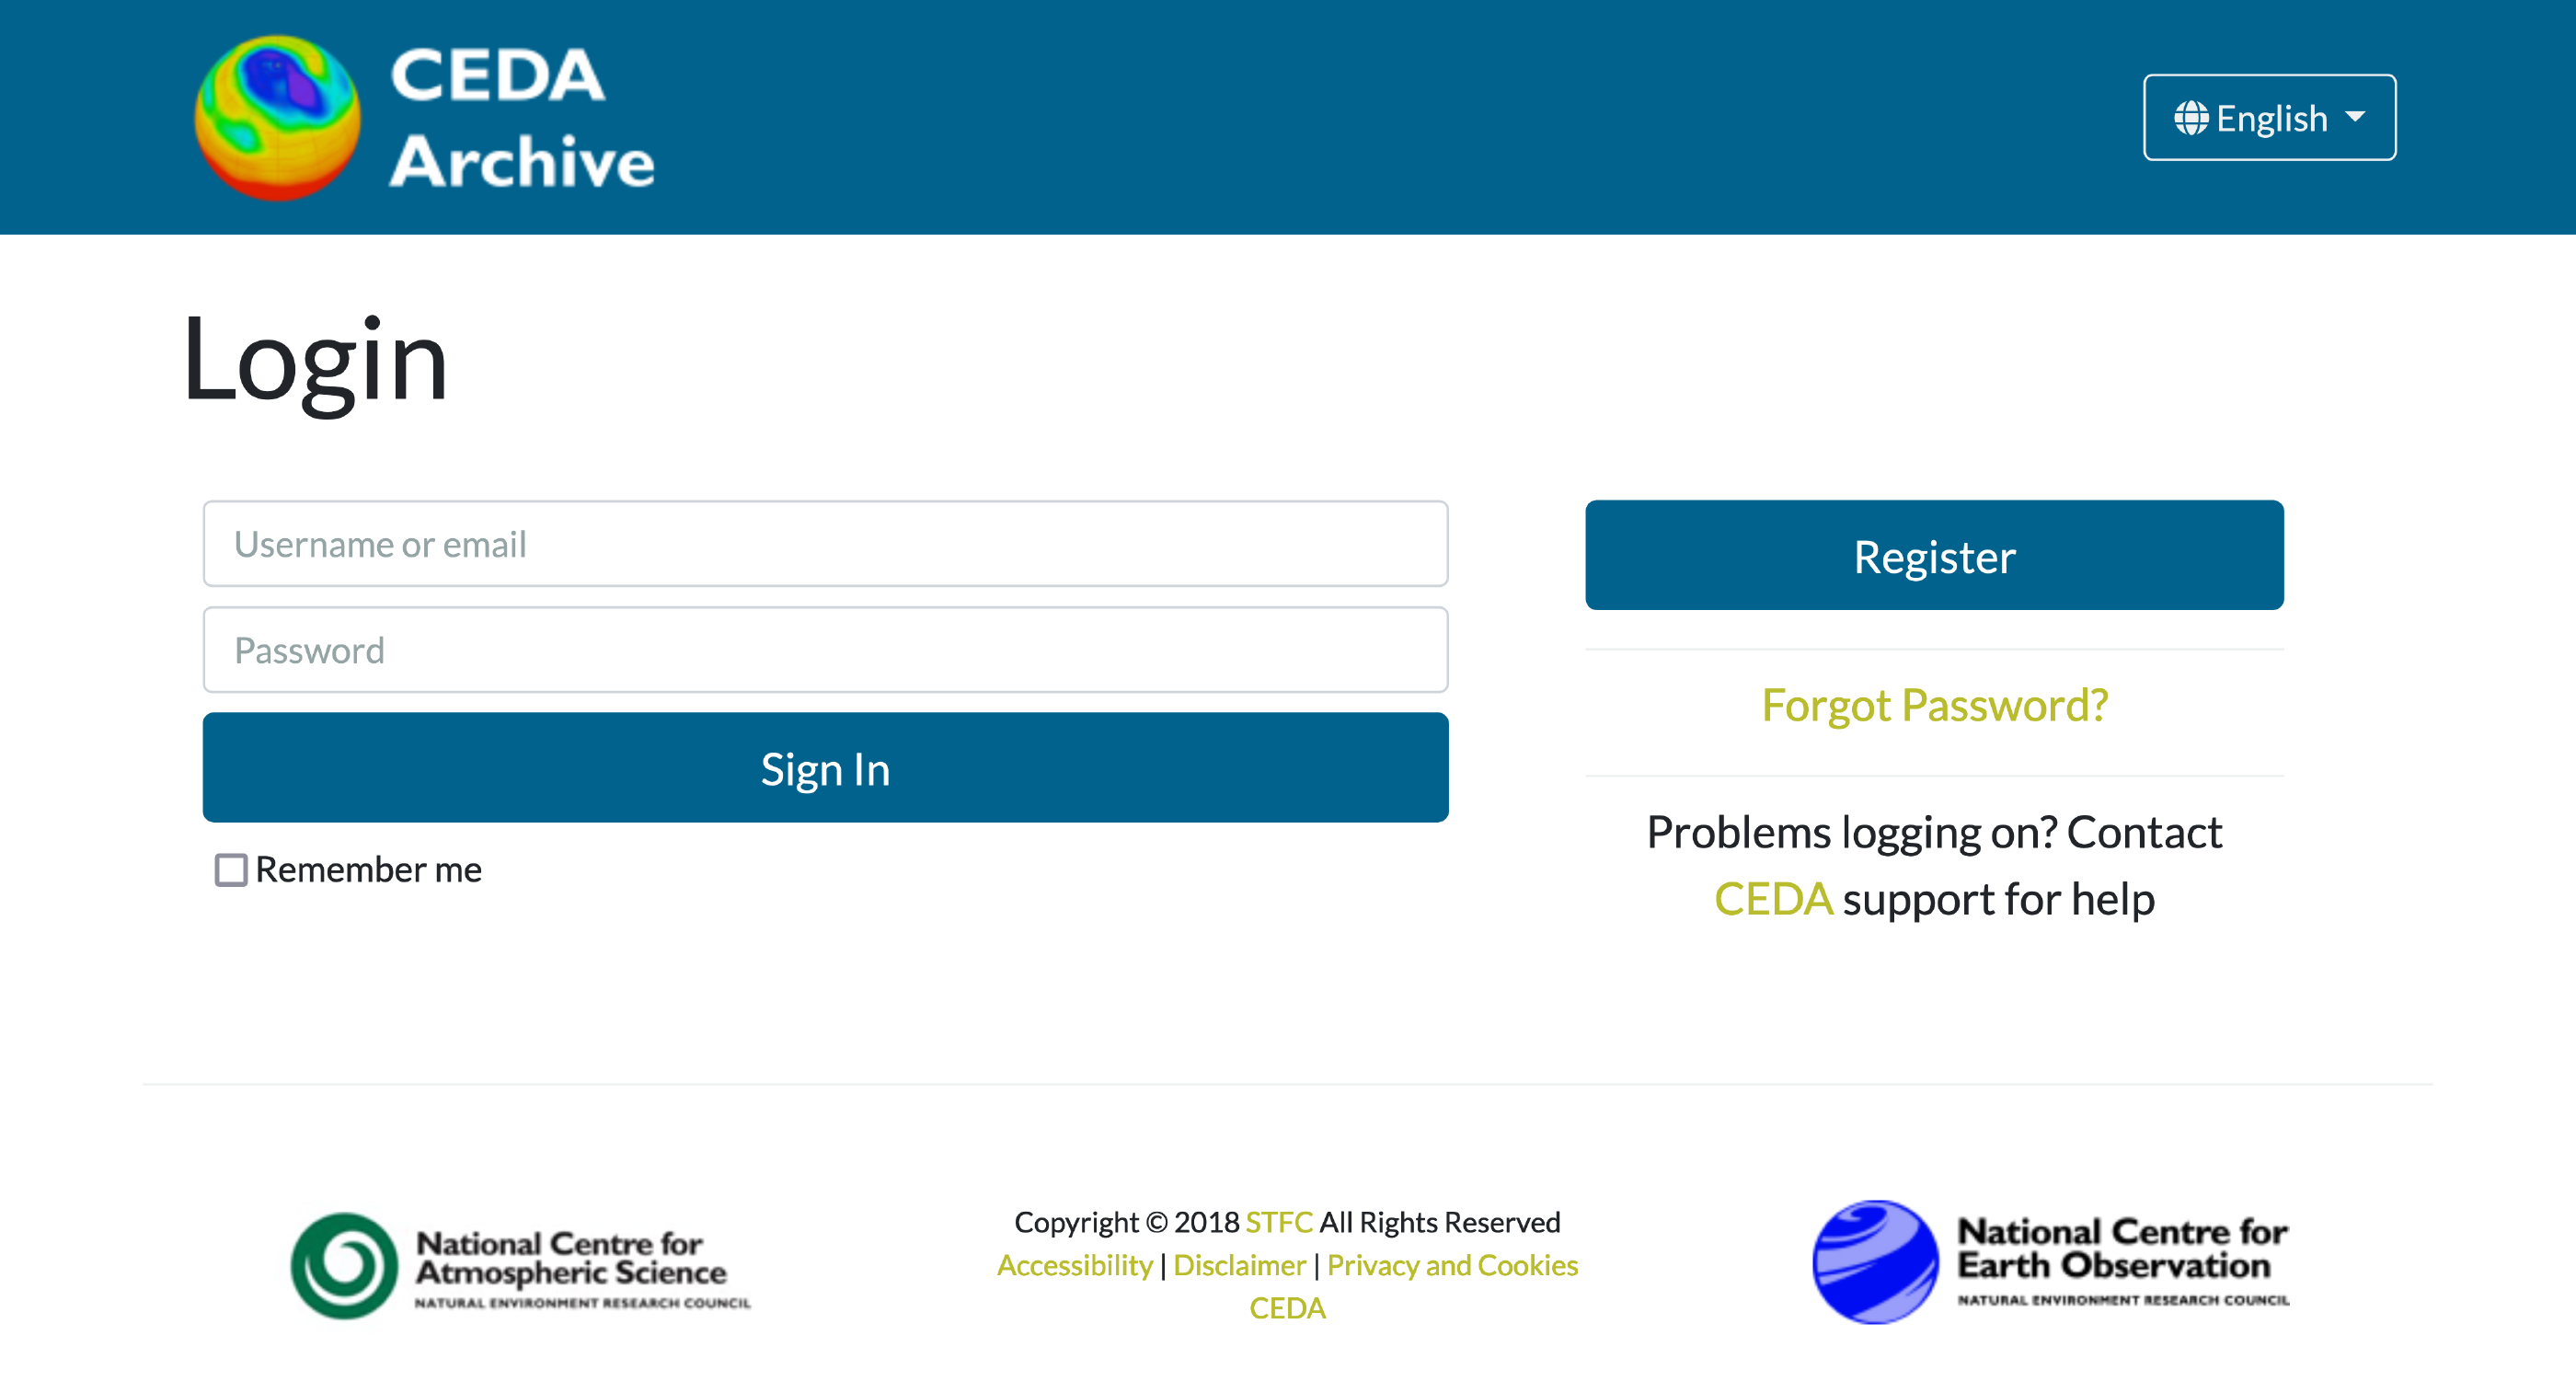
Step 2 : You will be directed to the page below to authorise the CEDA accounts portal to link your JASMIN account.
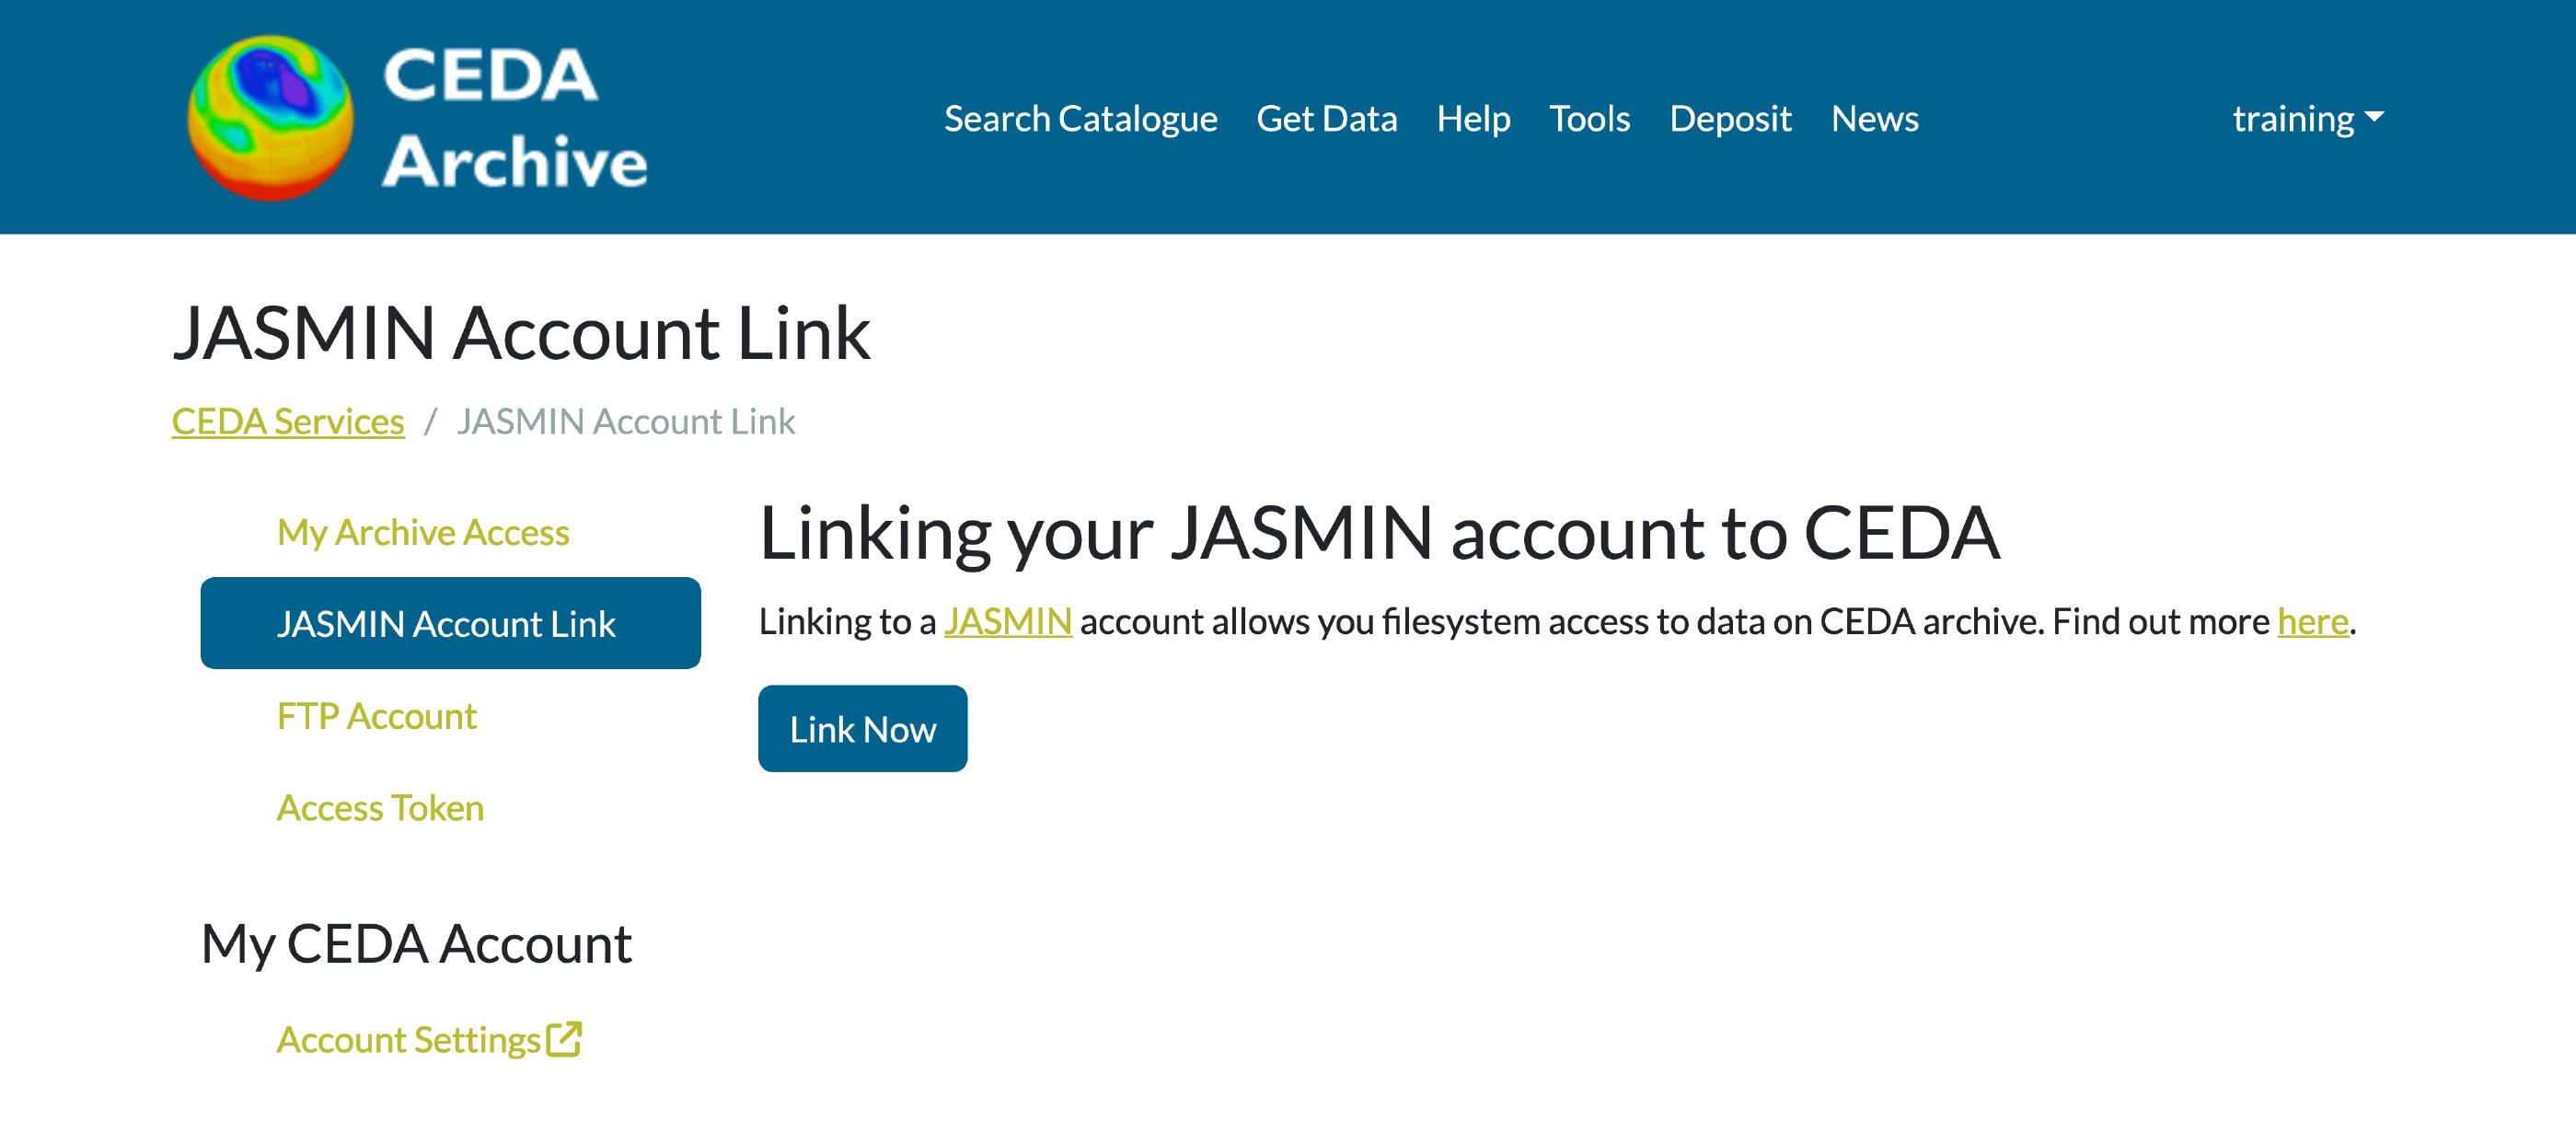
Step 3 : Then you will be sent to the page below to authorise the JASMIN accounts portal to grant the CEDA accounts portal information about your JASMIN profile.
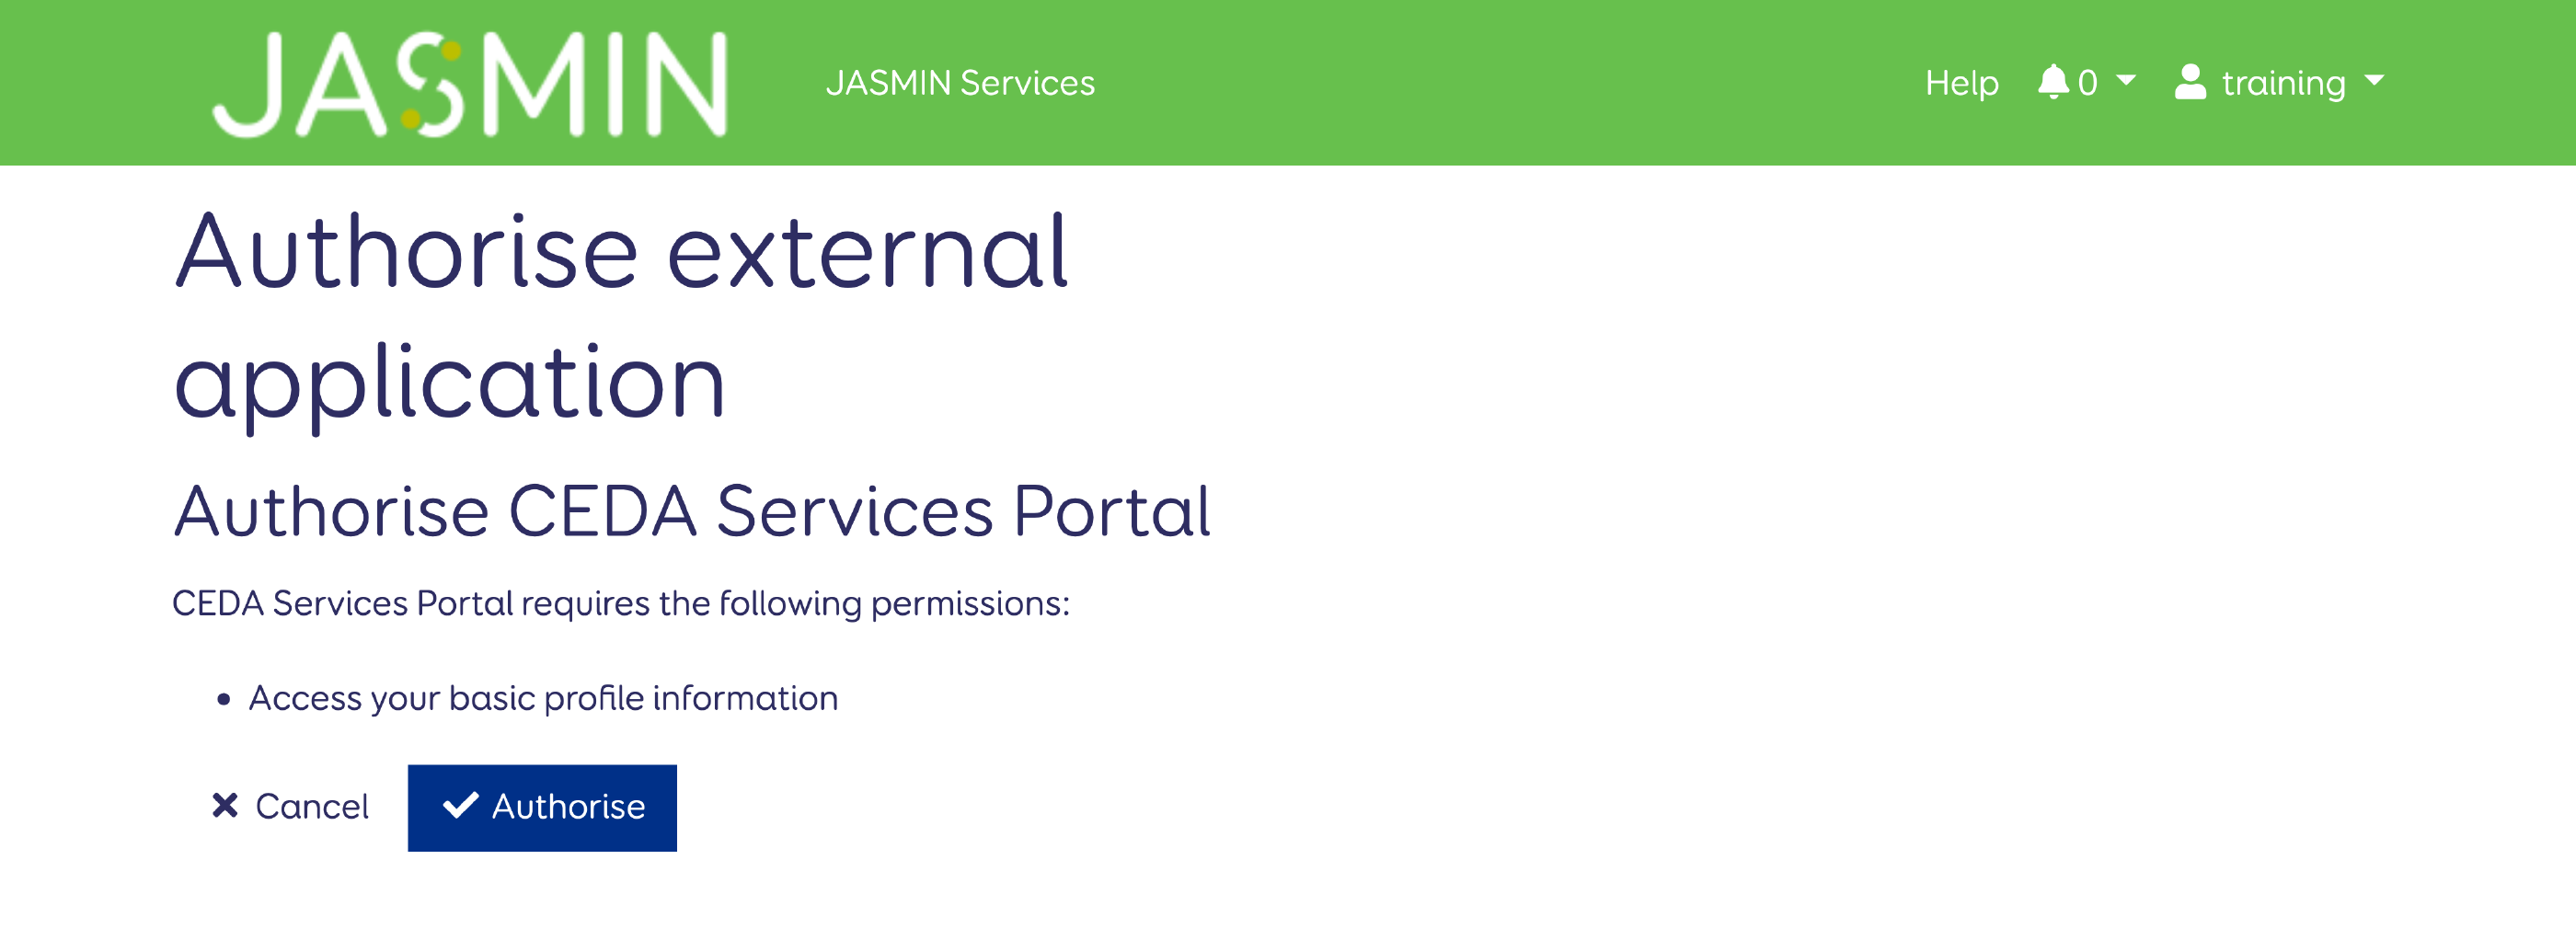
Step 4 : Finally, a box confirming you’ve linked your accounts is shown in the CEDA accounts portal. As shown below, a field stating “Linked to JASMIN account: <JASMIN username>” should show the name of the account you have linked.
