Docs
Platforms In Depth - Workstations
In depth look at the workstation platforms
The Linux Workstation platform provides a versatile cloud-based instance running Ubuntu 22.04. Users can access the graphical desktop environment or the command-line interface through a web browser. These are aimed at:
- those with constrained local resources
- those requiring access from multiple locations
- those requiring an easy way to create a machine which also has an available graphical user interface (GUI)
For external access, an optional public IP address can be configured to enable secure shell (SSH) connections. Each instance includes a dedicated cloud volume mounted at /data for managing large datasets. The capacity of this volume is configurable during instance launch.
Azimuth offers two distinct Linux Workstation configurations, primarily differentiated by access methods.
-
Linux Workstation (Direct Access) configuration provides direct access to the Azimuth platform via a GUI displayed within the user’s web browser. Interaction with the platform uses standard mouse and keyboard input. The Azimuth platform uses the processing power, memory, and storage resources of the underlying cloud instance/project. This option is ideal for users who prefer a traditional GUI-driven workflow and whose workload requirements are compatible with the allocated cloud instance resources. Shell access through the browser is also possible.
-
Linux Workstation (with SSH access) is the same as without SSH access, except SSH access is enabled on the VM. Note that you will need to request port 22 to be opened in the firewall for the IP associated with the machine. This option is well-suited for users comfortable with command-line operations.
Configuration
| Option | Explanation |
|---|---|
| Platform name | A name to identify the Linux Workstation |
| Workstation size | The size of the cloud instance: the number of CPUs and RAM |
| Volume size | The size of the cloud volume at /data |
| External IP for SSH access (optional) | Assign an external IP address if needed |
Some additional features of the Workstation platforms include:
| Feature | Use |
|---|---|
| Platform Monitoring | A Grafana dashboard for system monitoring |
| EESSI | A software suite which offers various toolkits and modules for research computing |
| Podman | Is included for building and running OCI containers. It is recommended to install software via Podman to avoid issues during image upgrades. The Podman CLI is similar to Docker’s. |
| Apptainer | Another container framework included for HPC applications, supporting OCI containers like Podman |
Platform Creation
From the Azimuth tenancy landing page, shown below, click ‘Create a Platform’ or ‘New platform’.

A list of available platforms will be shown, where you can choose ‘Linux Workstation’.
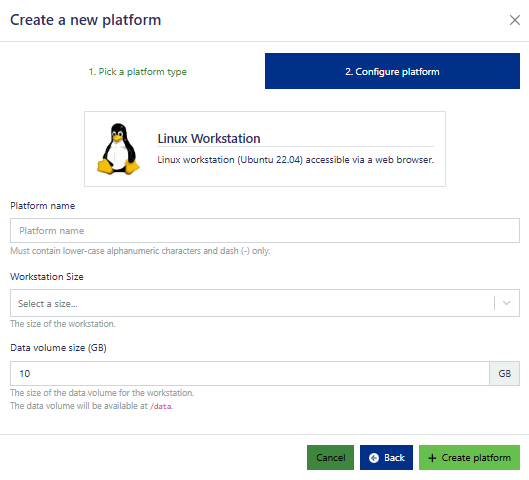
On the ‘Create a new platform’ window, provide a platform name of your choice. Note that only lower case and dash (-) characters are allowed.
For the workstation size, select from the dropdown list of predefined sizes (note that each resource used reduces the number of resources in the allocated quota for the project/tenancy). Then, select
the data volume size for your workstation which will be available at /data. If you want to make changes to the configurations, use the back button, otherwise click on ‘Create Platform’.
The platform scheduling window, shown below, will then enable you to review the current requested resource count/size against the projected resource usage and the tenant resource quota/allocation. This enables better resource management.
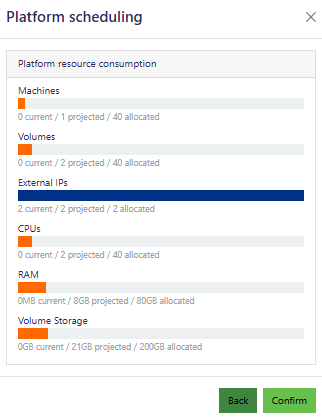
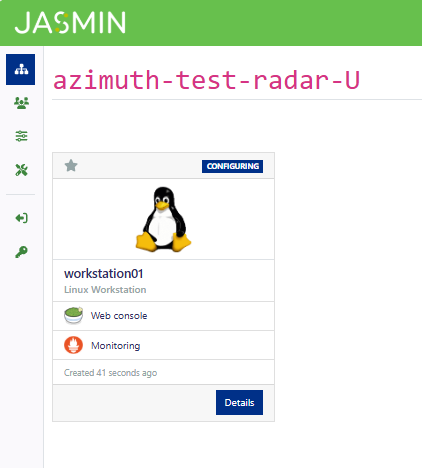
Once done, click ‘Confirm’ to go to the Azimuth platform configuring page, shown below.
Platform Usage
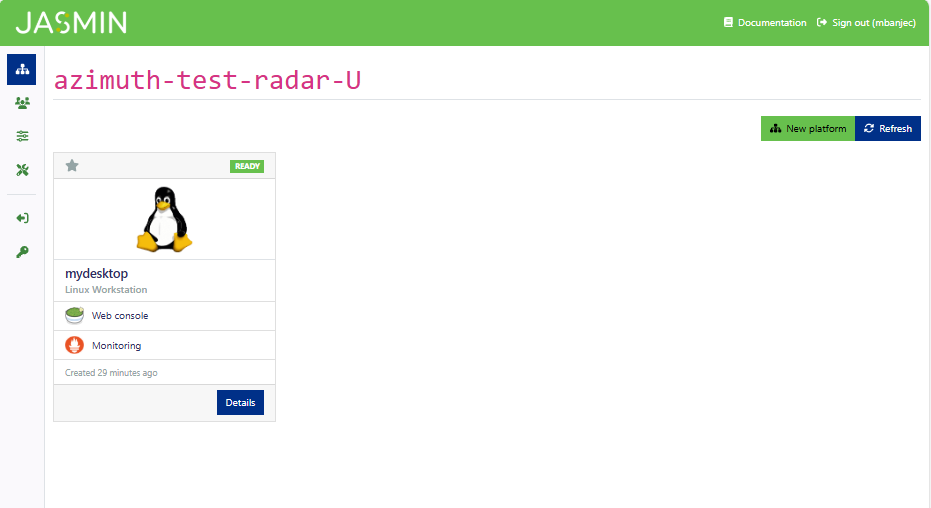
Once the deployment is complete, the deployment page indicates the workstation is ready. Click ‘Details’ to go to the platform instance, or ‘Monitoring’ to monitor the workstation. From ‘Web console’, you can either copy the URL for the workstation’s web interface, or click on the link for the workstation’s webconsole.
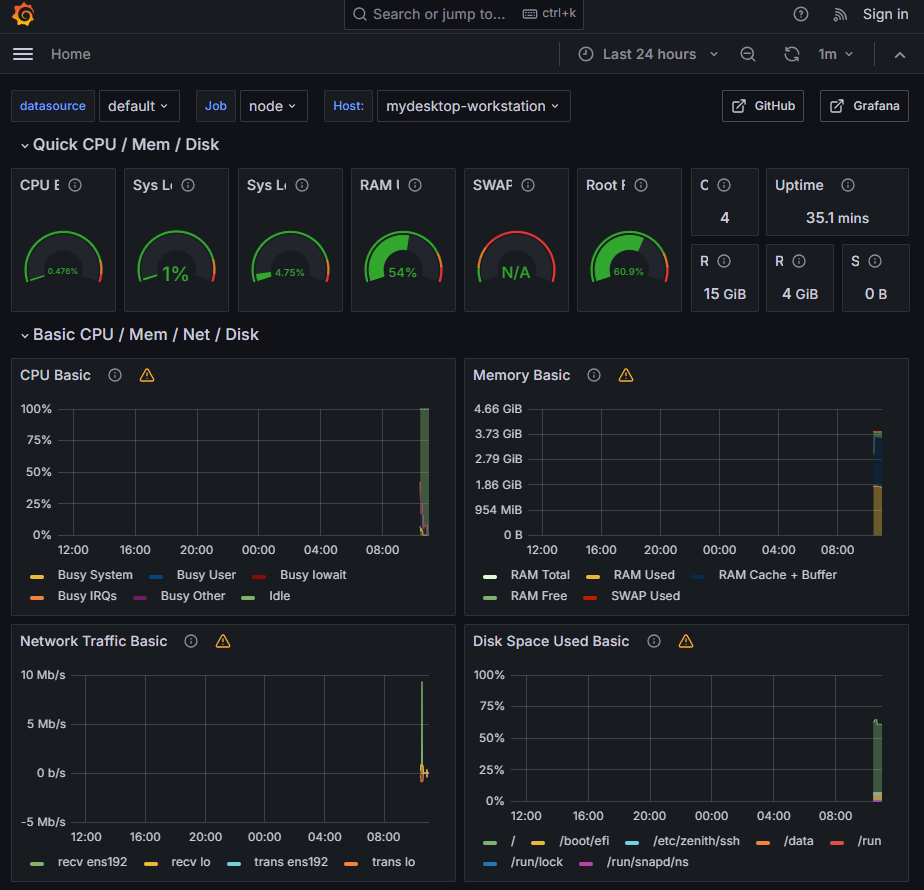
Additionally, when you hover the mouse over the ‘Monitoring’ link, you can either copy the link, or click on the go-to service link to navigate to the Grafana monitoring page, shown below.
When you click the ‘Details’ button on the platform, you can view the platform details, shown below.
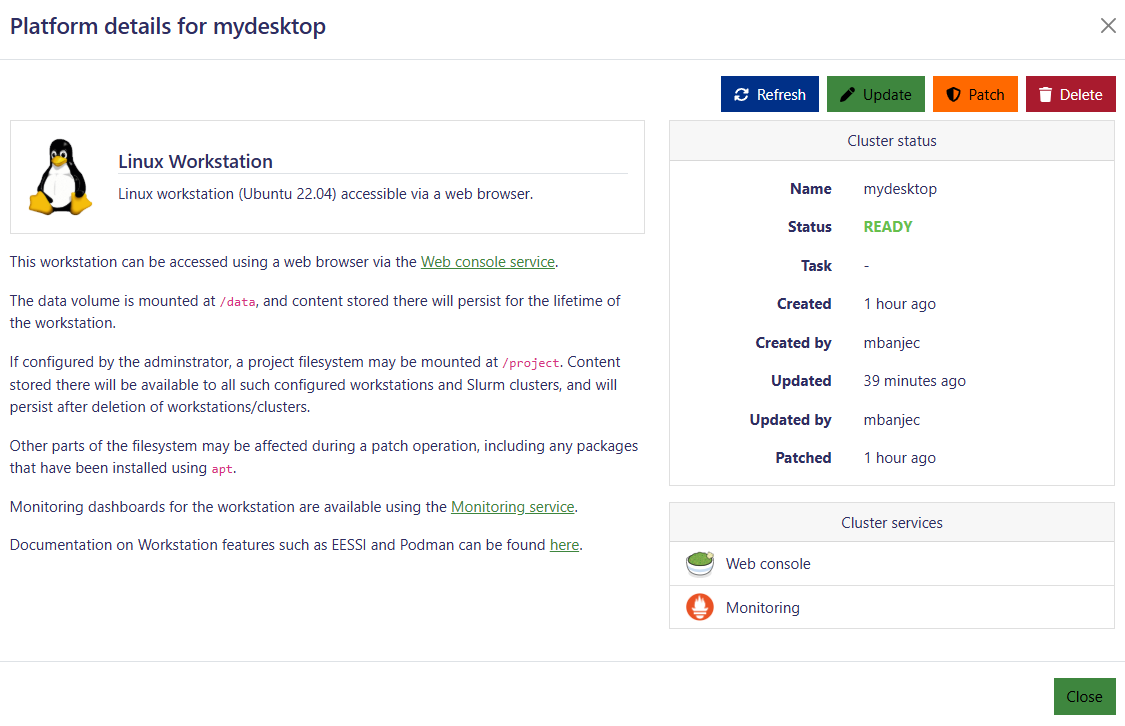
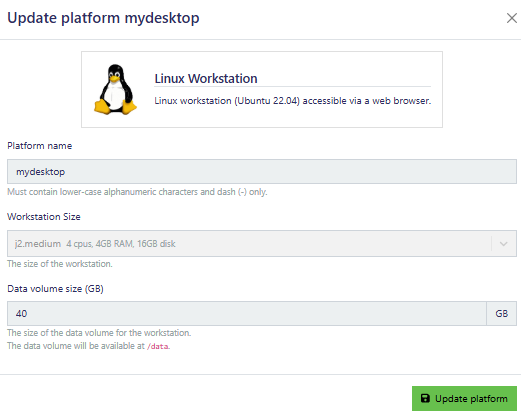
The ‘Platform details’ page also allows for updating, patching or deleting the platform.
The ‘Platform details’ page allows you navigate to the webconsole service (Apache guacamole), or the monitoring page as indicated earlier. For the GUI and webconsole, navigate to the ‘All Connections’ section after clicking ‘Web console’ on the ‘Platform’ tile. Here, you will be able to view any recent desktop or shell sessions.
Note, you may need to allow your browser to use the clipboard for copying and pasting text from your PC/Mac to the console instance of the platform.
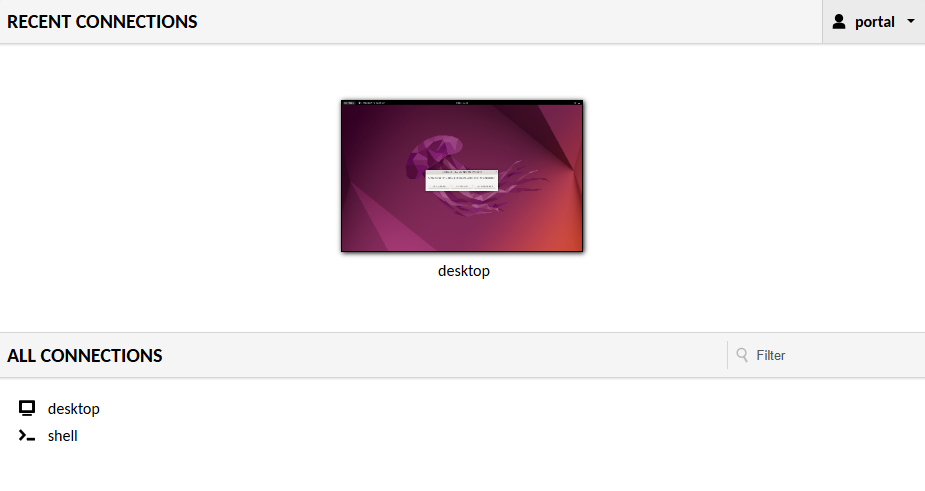
From ‘All Connections’, you can navigate to a browser-based desktop instance of your Ubuntu desktop, or an instance of a shell. It is important to take note of the unique ID xxxxxxxxxxxxxx in the azimuth.jasmin.ac.uk/guacamole/#/ url.
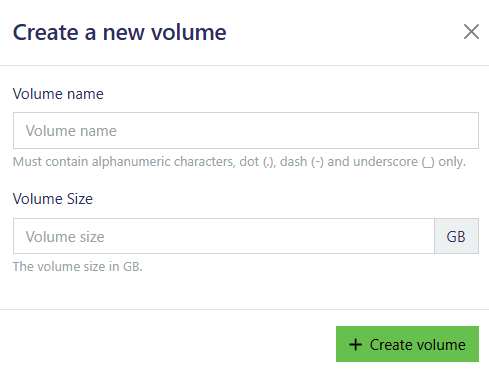
To create a new volume, navigate to the tenancy/project page, and click the ‘Volumes’ button in the ‘Advanced’ section. Here you can click the ‘New volume’ button, shown below:
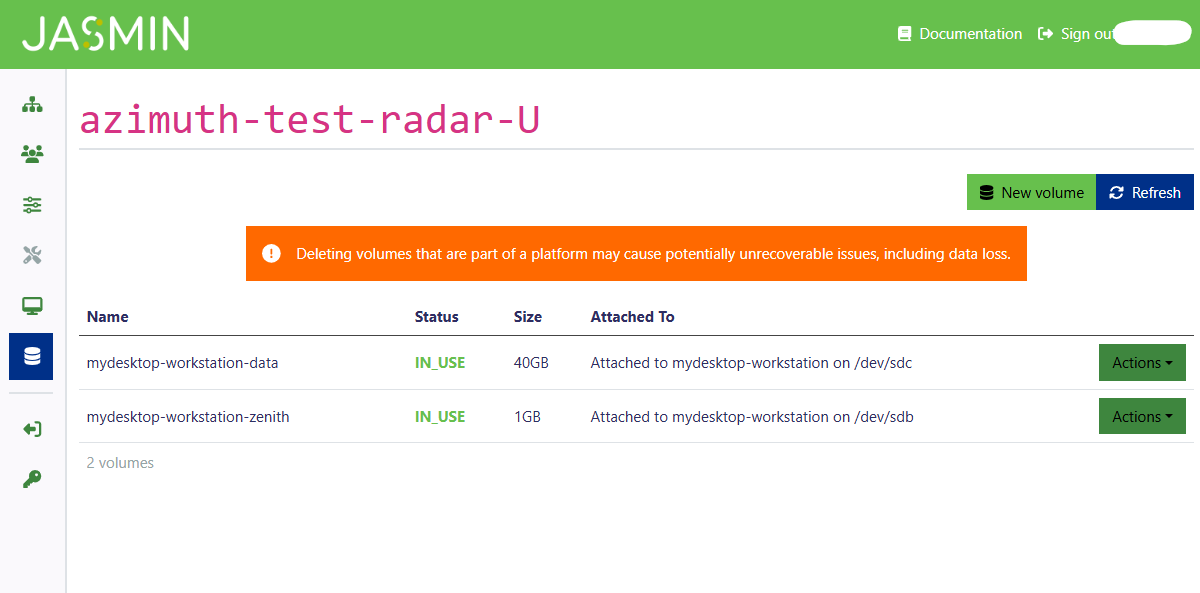
Specify the volume name and size, and click ‘Create volume’.
Once a volume is created, you can attach, detach or delete the volume on an instance of a platform by clicking the ‘Actions’ button.
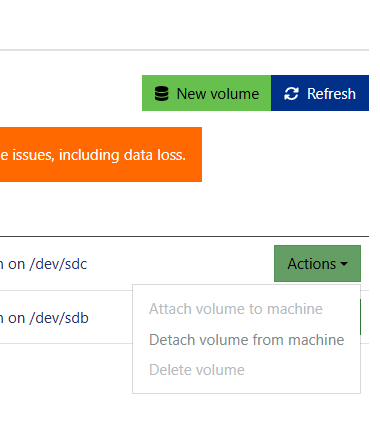
You can also detach or delete an existing volume in your tenancy. It is particularly important to note that you should only manually detach or delete a volume that you manually attached or created, not the ones created with the platform.