Docs
Globus transfers with JASMIN
Globus transfers with JASMIN
This article describes how to do data transfers to and from JASMIN using Globus , an online data transfer service designed specifically for moving large datasets between research institutions.
Globus now replaces the previous certificate-based gridftp service.
Although gridftp transfers are currently still possible (using the perhaps confusingly-named globus-url-copy client tool
still available on the
transfer servers), this now only works with
ssh authentication.
Main differences
JASMIN moved to a newer version of Globus in 2023, resulting in a few changes:
- Users now interact with a collection
- All users: please use
“JASMIN Default Collection”
with ID
a2f53b7f-1b4e-4dce-9b7c-349ae760fee0 - The previous “STFC Internal Collection” has now been disabled: all users please use the above “JASMIN Default Collection” collection instead.
- All users: please use
“JASMIN Default Collection”
with ID
- You now use the JASMIN Accounts Portal to authenticate (using your JASMIN account credentials) via OpenID Connect (OIDC).
- During the authentication process, you are redirected to the JASMIN Accounts Portal to link your Globus identity with your JASMIN account.
- Consent needs to be granted at a number of points in the process to allow the Globus service to carry out actions on your behalf.
- The default lifetime of the authentication granted to your JASMIN account is now 30 days. After this, you may need to refresh the consent for your “session”.
- This service is now available to all users of JASMIN: you no longer need the
hpxferaccess role (now removed).
The following examples show you how to authenticate with the new JASMIN Default Collection and list the contents of your home directory. As before, however, the following file systems are available via this collection
| File system | Access |
|---|---|
$HOME (/home/users/<username>) |
Read-write |
/gws (group workspaces) |
Read-write |
/work/scratch-* (scratch volumes) |
Read-write |
/work/xfc (transfer cache) |
Read-write |
/badc (CEDA Archive) |
Read-only |
/neodc (CEDA Archive) |
Read-only |
List your home directory using the web app
1. Navigate to https://app.globus.org
2. Log in with your Globus identity (this could be a globusid.org or other identity)
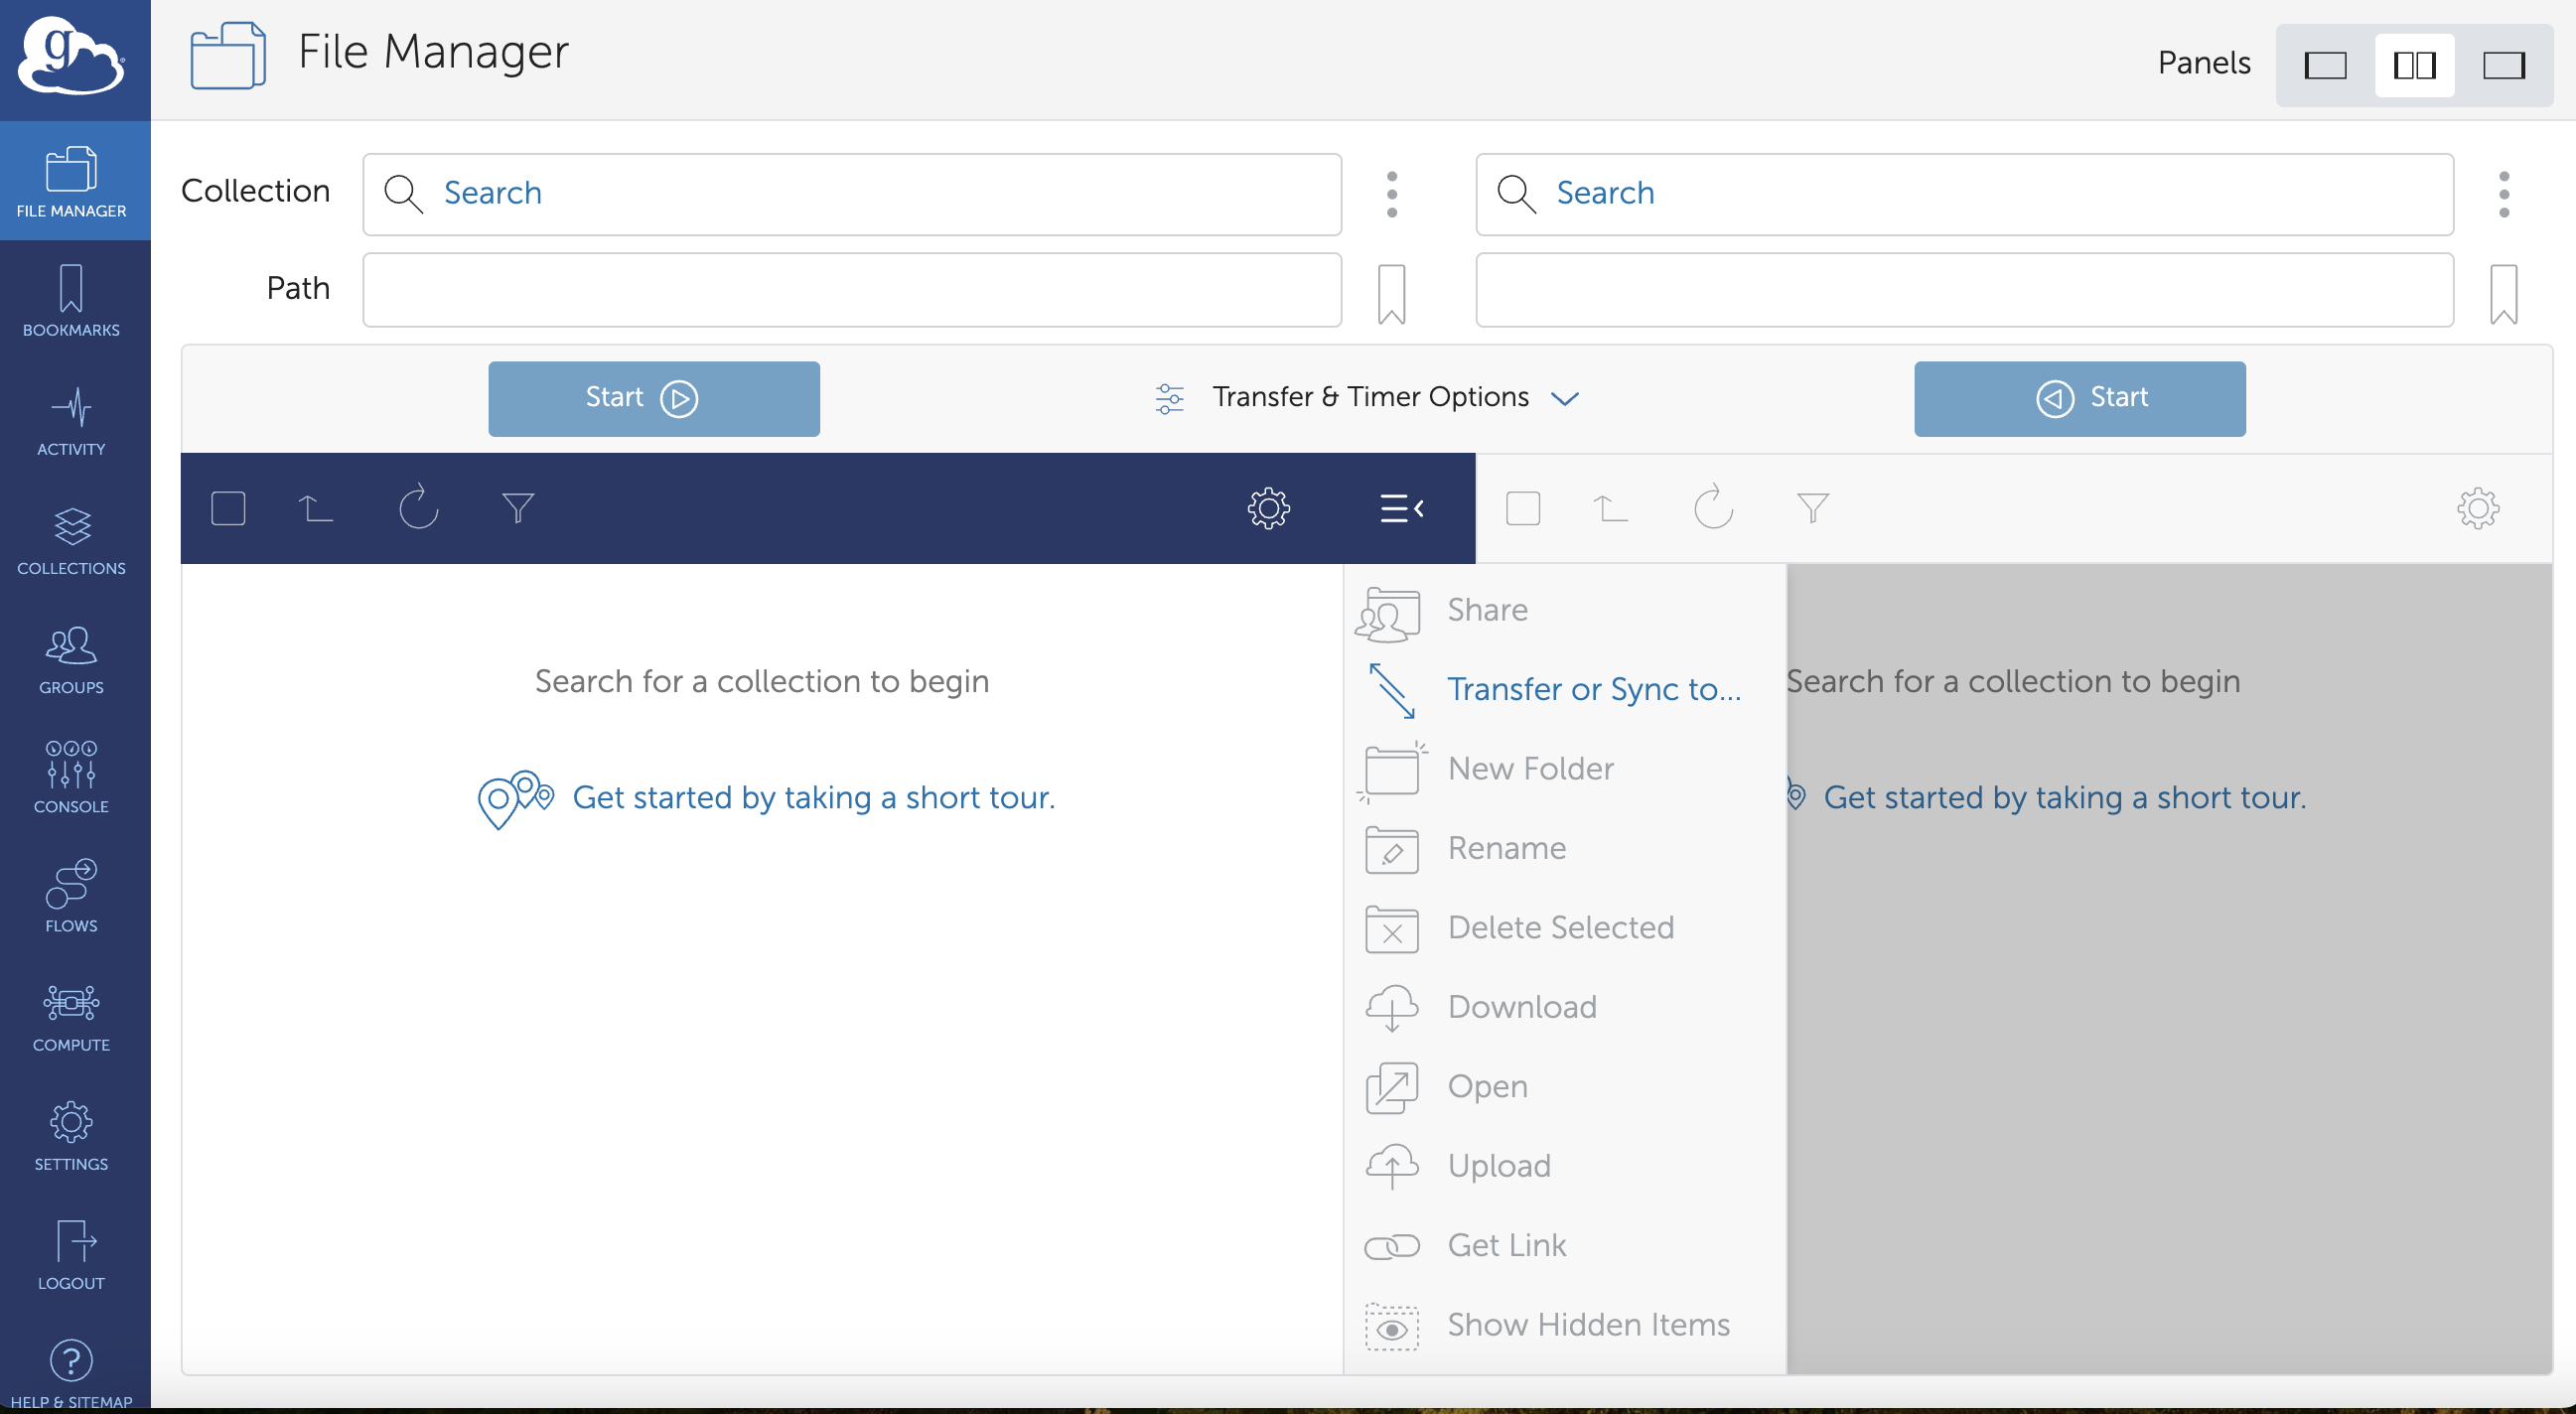
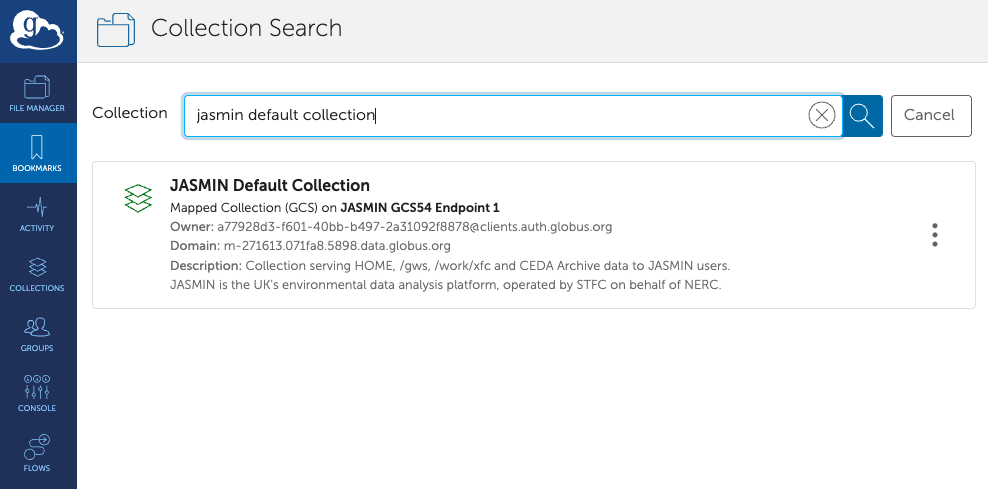
3. In File Manager, use the search tool to search for “JASMIN Default Collection”. Select it.
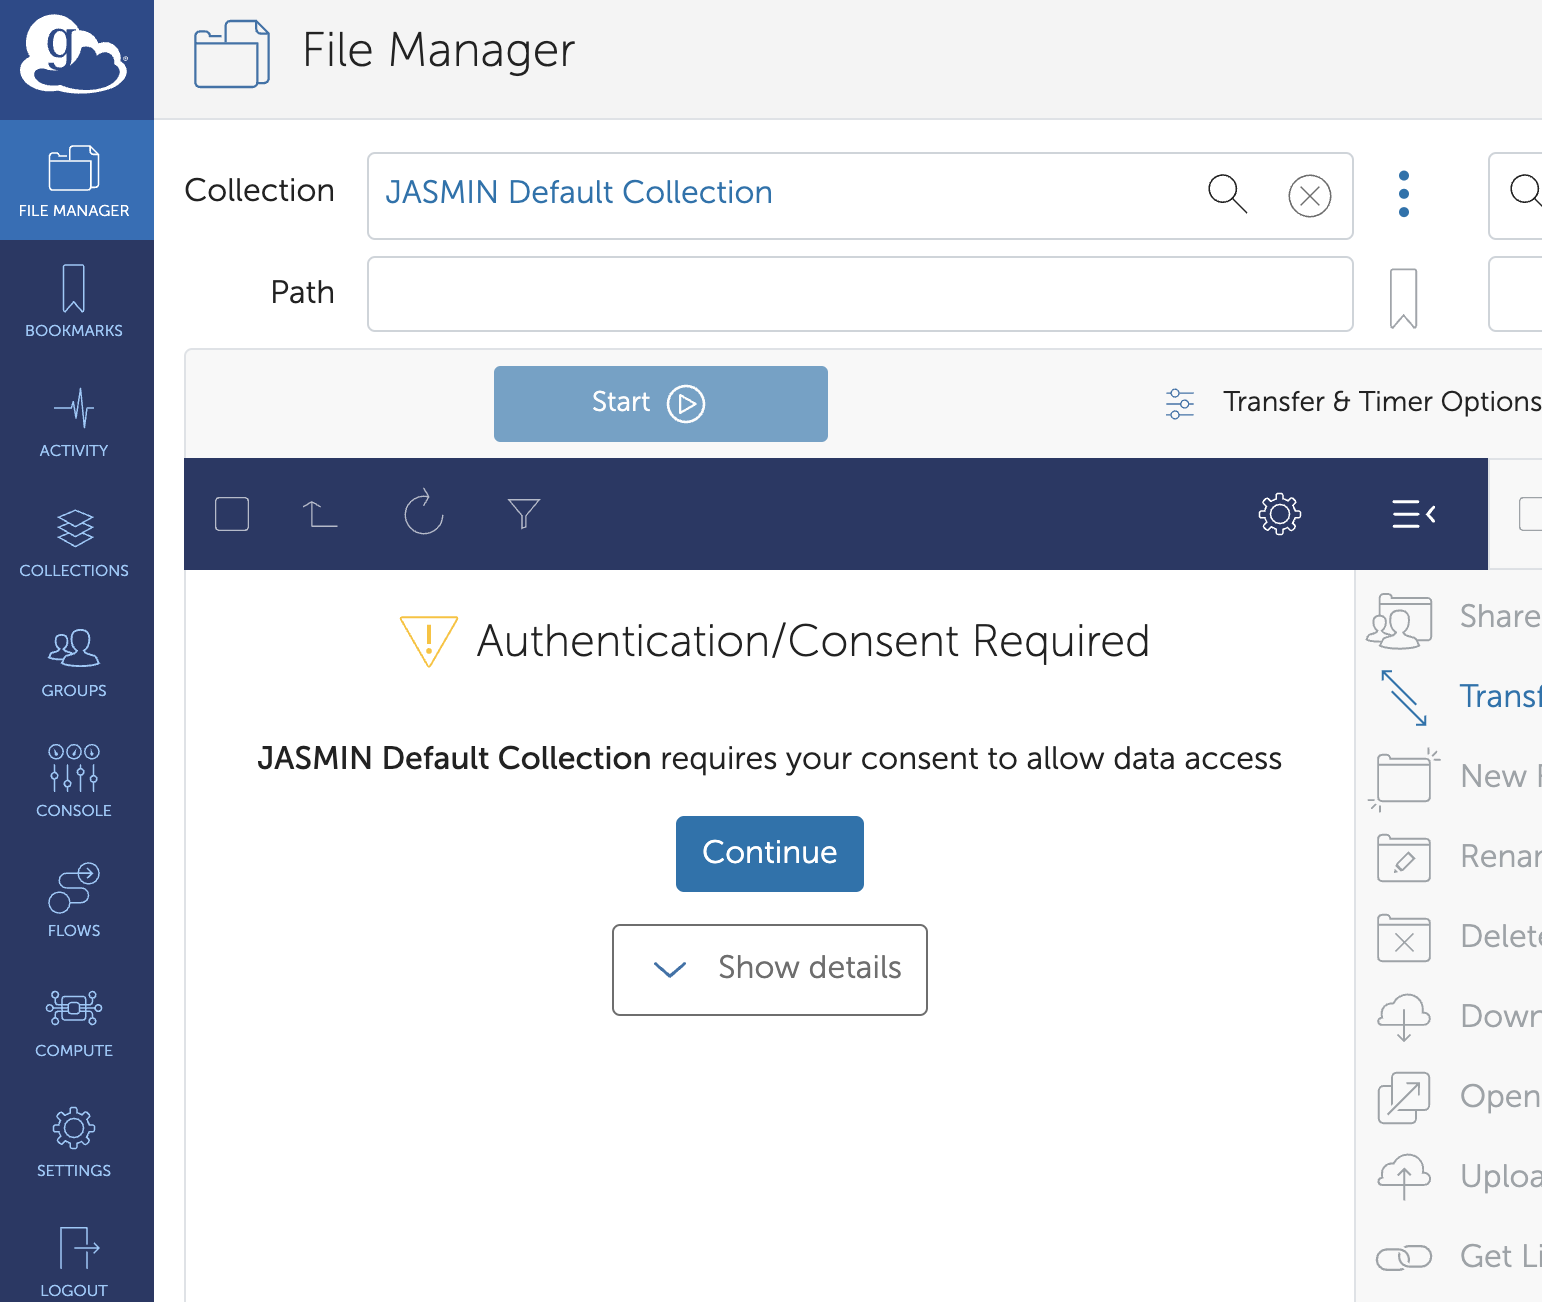
4. In the transfer pane, you are told that Authentication/Consent is required. Click Continue.
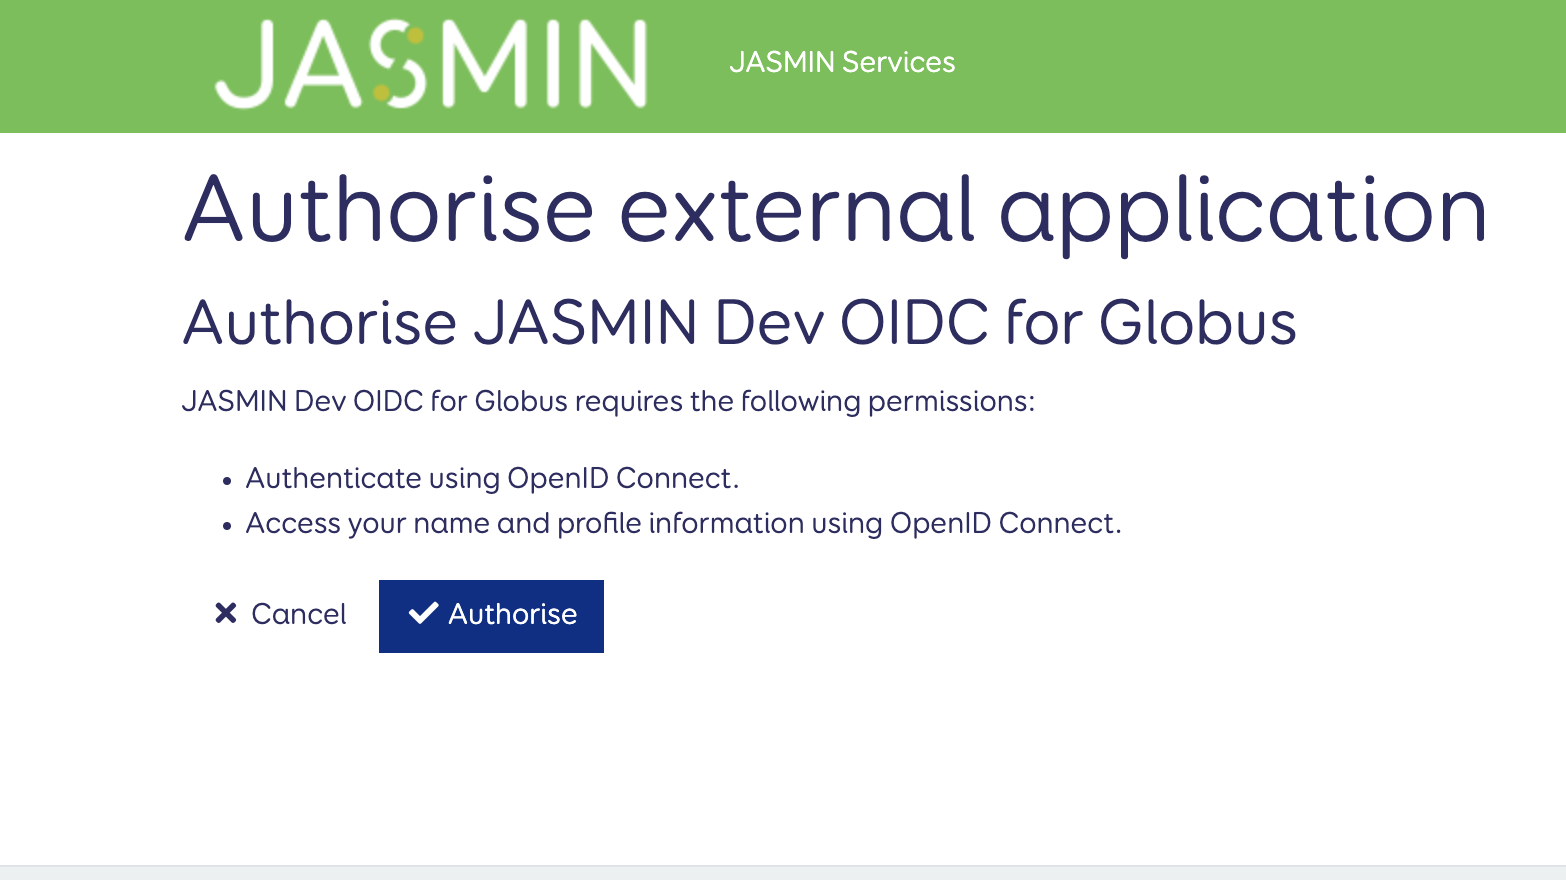
5. Click the link to use the JASMIN Accounts Portal OIDC server to link your JASMIN identity
6. You are taken to a page on the JASMIN Accounts portal, where you are invited to “Authorise” the external application to authenticate and access your essential account information.
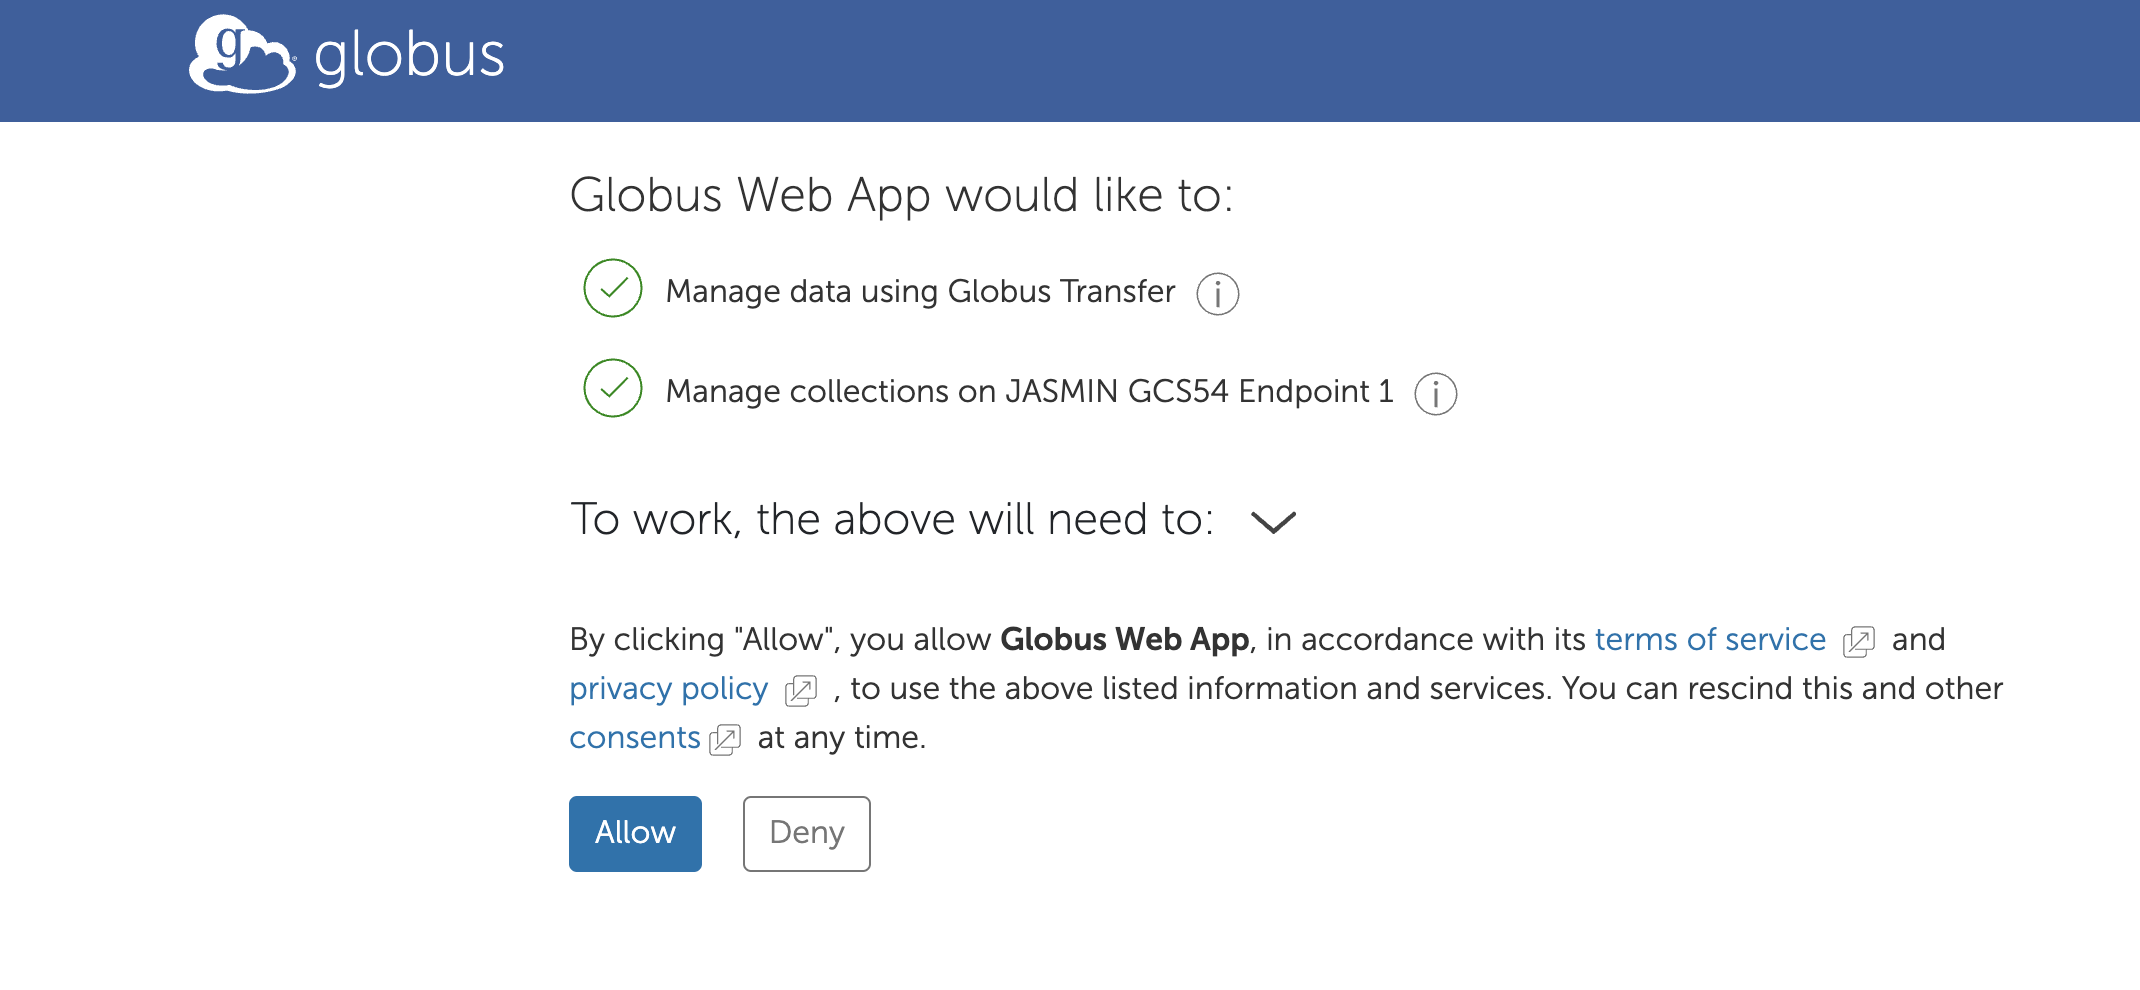
7. If successful, you are taken back to the Globus web app, where you are invited to “Allow” the app to use the listed information and services.
8. The directory listing of your home directory should now appear in the transfer pane.
9. Try navigating to another collection known to you (previously known as endpoint) in the other pane and transferring some data. If you have Globus Connect Personal running locally, you should be able to transfer files to/from that.
List your home directory using the command-line interface (CLI)
1. Load the virtual environment where you have the Globus CLI installed:
(in this example, a Python virtual environment named ~/.globus-cli-venv
already exists. If it doesn’t create one with the command python3 -m venv ~/.globus-cli-venv on your local machine). Activate this virtual environment
as follows:
source ~/.globus-cli-venv/bin/activate2. It’s recommended to update to the latest version of the CLI by doing the following:
pip install -U globus-cli3. Check that you have an active globus session and follow any instructions given, e.g.
globus login
globus session show
4. Use the “globus ls” command to list the collection using its ID, starting at the path of your home directory (/~/)
globus ls a2f53b7f-1b4e-4dce-9b7c-349ae760fee0:/~/If you get an error like the following, please see Globus CLI Troubleshooting:
The collection you are trying to access data on requires you to grant consent for the Globus CLI to access it.

Please run:

  globus session consent 'urn:globus:auth:scope:transfer.api.globus.org:all[*https://auth.globus.org/scopes/a2f53b7f-1b4e-4dce-9b7c-349ae760fee0/data_access]'

to login with the required scopes.
run the suggested command, and follow the steps in the browser window that will open.
globus session consent 'urn:globus:auth:scope:transfer.api.globus.org:all[*https://auth.globus.org/scopes/a2f53b7f-1b4e-4dce-9b7c-349ae760fee0/data_access]'
You are running 'globus session consent', which should automatically open a browser window for you to authenticate with specific identities.
If this fails or you experience difficulty, try 'globus session consent --no-local-server'
---

You have successfully updated your CLI session.
Once the steps in the browser window have been completed successfully, you can close the browser window and try the globus ls command again.
This authentication will last for 30 days (in the case of the JASMIN collection), but can be refreshed ahead of time by repeating that command. You will usually need to do an equivalent action for the collection at the other end of the transfer, too.
TIP: you can set the ID of the collection to be an environment variable like this, for convenience:
export jdc=a2f53b7f-1b4e-4dce-9b7c-349ae760fee0
globus ls $jdc:/~/
6. You will be taken through an equivalent set of steps to those needed for the web app. First off, you will be asked to copy/paste a URL into your browser and copy/paste back the resulting authentication code.
7. Once the authentication/consent process has been completed, you should see a listing of your home directory.
8. Use the globus transfer command to copy data to/from another
collection (previously known as endpoint) to your home directory, within
the JASMIN Default Collection. (see globus transfer --help for details)
Where to/from?
Don’t forget that to actually transfer data to/from JASMIN (e.g. step 8, above), you’ll need another
collection somewhere else. If you’re transferring data from ARCHER2, you can use their
ARCHER2 filesystems collection (id: 3e90d018-0d05-461a-bbaf-aab605283d21)
If not, unless your institution runs a Globus collection, you’ll need to install a small piece of software called Globus Connect Personal on a machine at that end that is able to read/write the data that you want to transfer. A good idea is to try this on your own desktop/laptop first.
Our help doc guides you through how to do this and some examples of how to use it. Versions available for Windows, Mac and Linux.
Troubleshooting
Transfer task reports errors while in progress
This is normal, and Globus will automatically retry a transfer several times before giving up. If it’s actually failed, it will report the final status as such. You can terminate a transfer task that has got stuck, if needed, either in the web interface, or by obtaining the task id and using the command `globus task
Other problems with command-line interface (CLI) in terminal environment
Most issues can be resolved by resetting your local Globus environment:
globus logout
rm -rf ~/.globus
globus login
globus session consent 'urn:globus:auth:scope:transfer.api.globus.org:all[*https://auth.globus.org/scopes/a2f53b7f-1b4e-4dce-9b7c-349ae760fee0/data_access]'
# (repeat for any other collection IDs that you need to interact with)
globus session show
globus ls $jdc:/~/